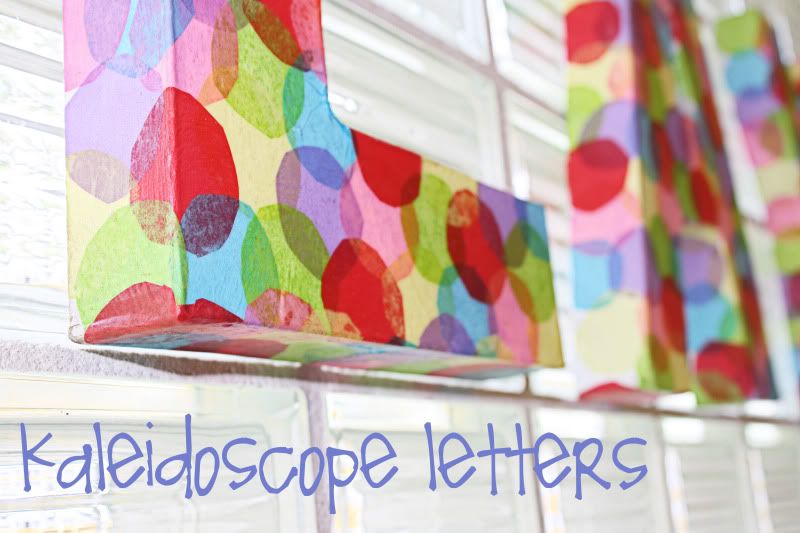
I have had these cardboard letters sitting in a bag on the floor of our spare room for almost a year now. My original plan was to cover them with fabric by stapling it to the back. I decided that with the curves of the letters this would be kind of difficult and probably not come out the way I had envisioned it. Then I decided I would mod podge the fabric on. Again after thinking it through I thought that it wouldn't look that great and the task would probably be difficult. So there they sat in a Joann Fabric bag until they recently got evicted to make room for the new baby.
It was crunch time, I either had to get rid of these over-sized cardboard letters or actually make something with them. I got my inspiration for these letter from this quilt that I wanted for Aubs but decided was too expensive and a tissue paper bottle craft I used to do as a camp counselor in high school. I'm happy to report that they turned out way cuter than I had expected.
Here's What You Need:
3D Cardboard Letters (wood would probably work too)
White Spray Paint
Tissue Paper in a variety of colors
Mod Podge
An Old Paint Brush
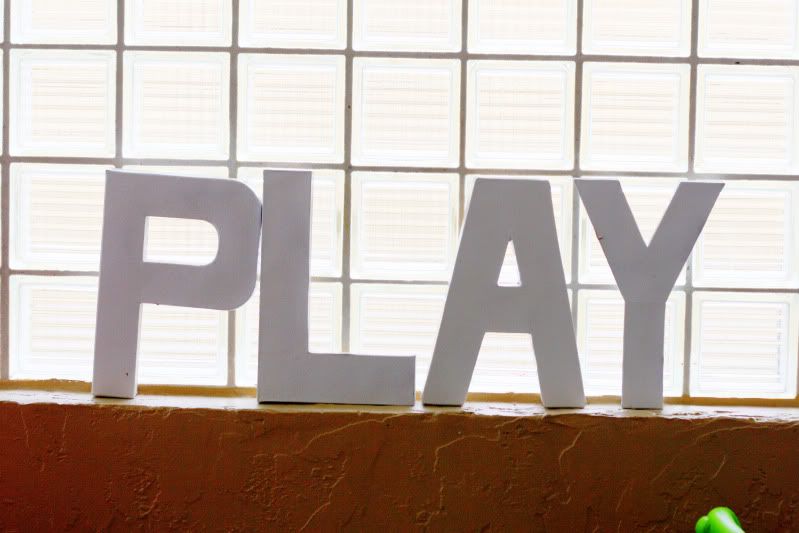
First you will want to spray paint your letters white so that the tissue paper colors will really pop once they become semi-transparent from the mod podge. Don't worry I did this outside while wearing a paint mask and no I didn't take pictures of me wearing it.
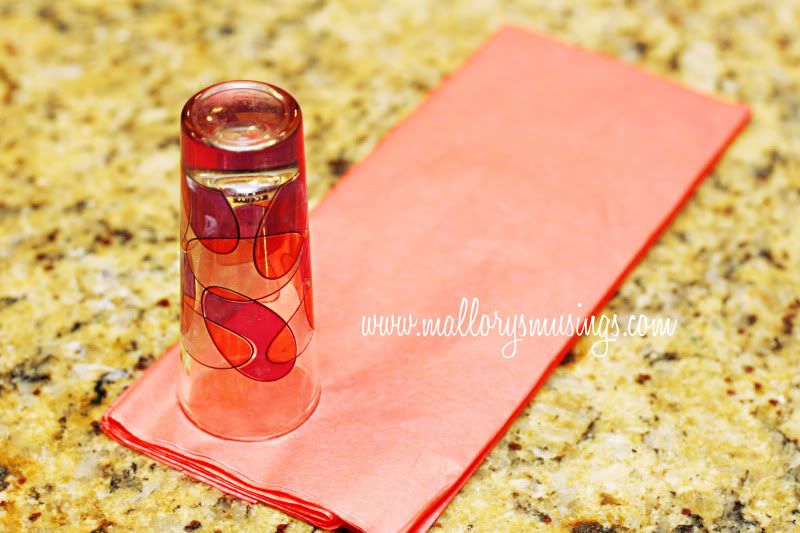
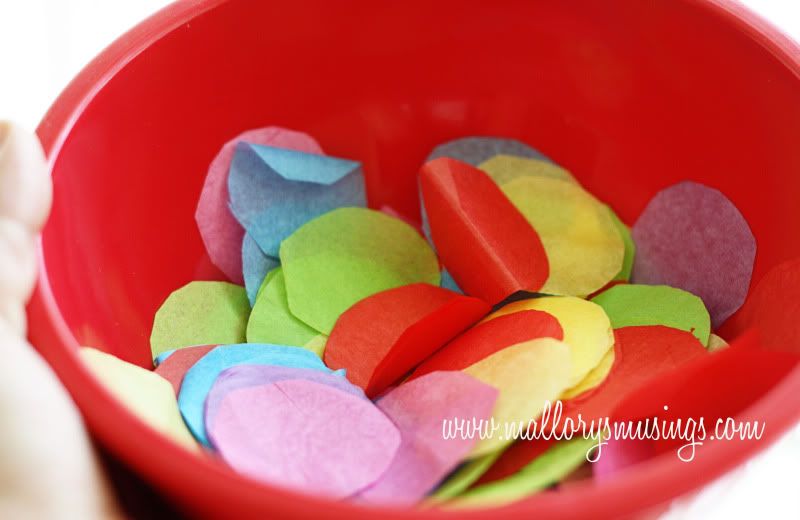
Next you need to cut a bunch of circles out of tissue paper. I left the tissue paper folded as it came in the package and then used a shot glass as my template to trace the circles. By keeping the paper folded, I was able to cut a multiple circles at once.
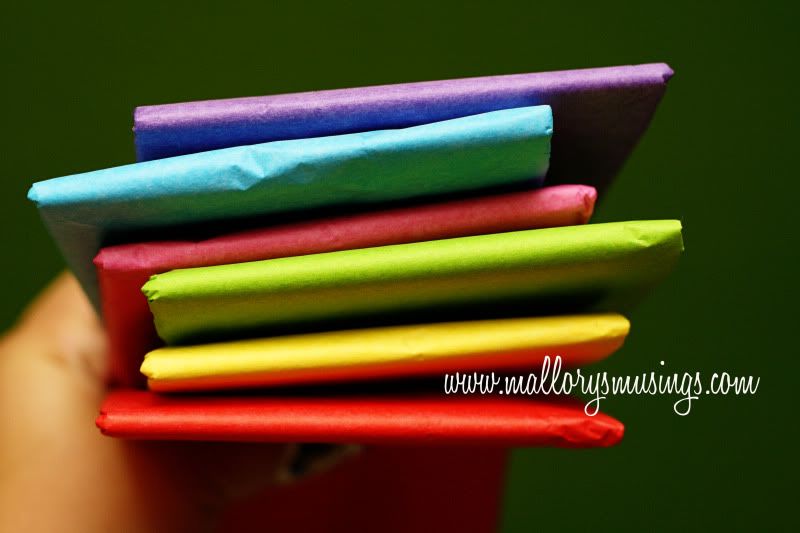
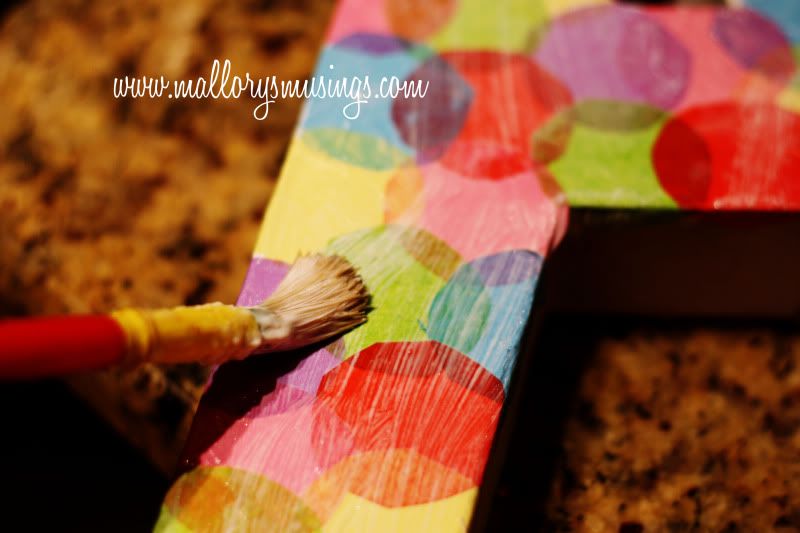
After you have cut the amount of circles that you think you need (depends on the size of your letters and the length of your word), you can start mod podging them to your letters. Using your paintbrush cover a small area of a letter in mod podge and start laying the circles down, overlapping the edges as little bit- venn diagram style. Once you have laid a out a few circles, coat them with a thin layer of mod podge. Try to keep your brush strokes going in one direction because it will have a cleaner look when it dries. Continue to do this until all of your letters are completely covered. I found that it is easier to do the face of the letters first and then go back and do the sides.
Lay letters flat to dry on newspaper. I let mine dry overnight because I did the project late at night but hey will probably dry in completely a lot sooner than that if you are antsy. Once all the letters are dry and no longer tacky you can go ahead and hang them up. If you go with the cardboard letters you can use double sided tape or glue tabs to hang them because they are so light. They are a fun addition to any room and they look especially cute my girl's playroom.
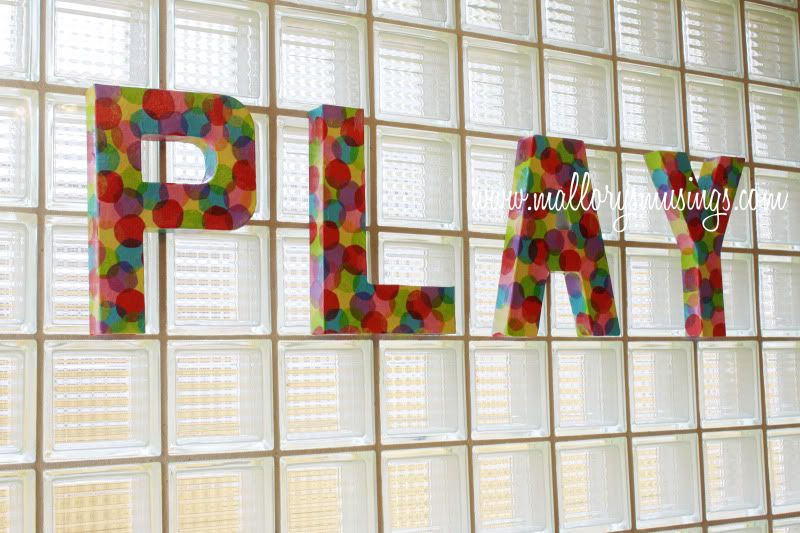
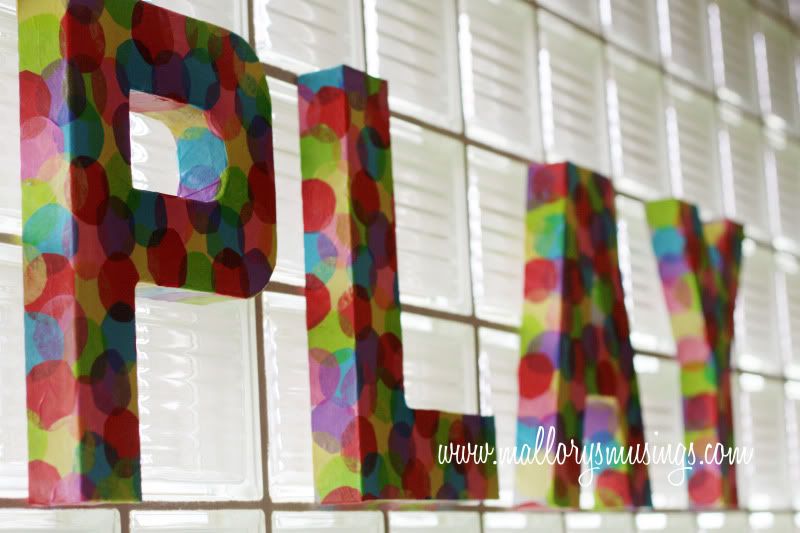




So cute! I really love this idea. I've never used modge podge so I may have to give this a try.
ReplyDeleteThis is so cute - I love using modge podge for crafts like this. I might have to save this for an idea for the baby's room after we know the name for sure.
ReplyDeleteThey turned out great! What a cute idea.
ReplyDeleteThis is just delightful. I am not patient enough for crafts like this, so I pinned it to my "I Wish I Were Crafty" board on Pinterest. :)
ReplyDeleteThat is a pretty big shot glass;-) Those came out so cute! They probably look great up against that window too
ReplyDeleteThose are wonderful and look so nice in front of the block windows. Love all the colors.
ReplyDeleteWOW! Mallory these are great. Super cute. Love the different colors!
ReplyDeleteWow i totally love this! Hmm, i think 'im putting this on my d.i.y room decor to do list. Violet would love it!
ReplyDeleteYou could try to use watered down elmers glue too- it won't come out as shiny but Violet could help out then.
ReplyDeleteThank you- I'm kind of regretting not using orange.
ReplyDeleteWhen I take shots I like them as big as possible
ReplyDeleteThanks- I'm so glad I finally got around to getting something up on that window.
ReplyDeleteIt's pretty easy- just a little time consuming.
ReplyDeleteI have to warn you- it's kind of addicting.
ReplyDelete