Home About Me Recipes Do it yourself Doodle Sponsor

Showing posts with label DIY. Show all posts

Tuesday, August 14, 2012

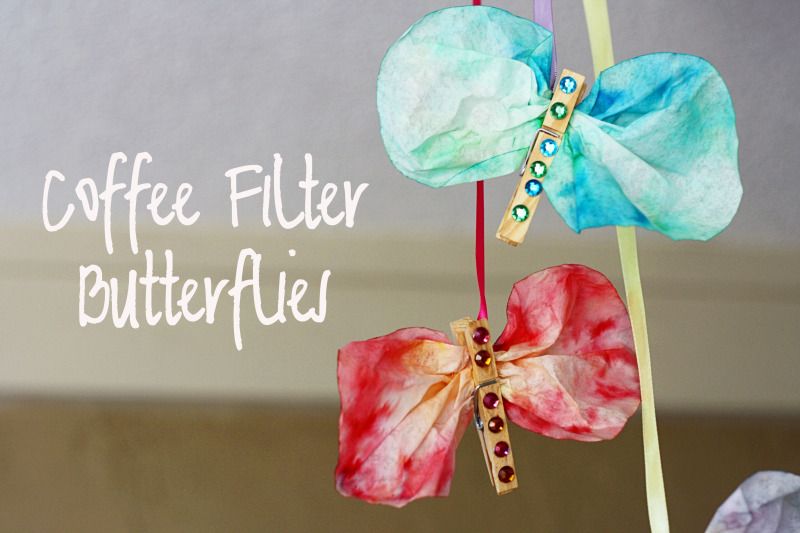
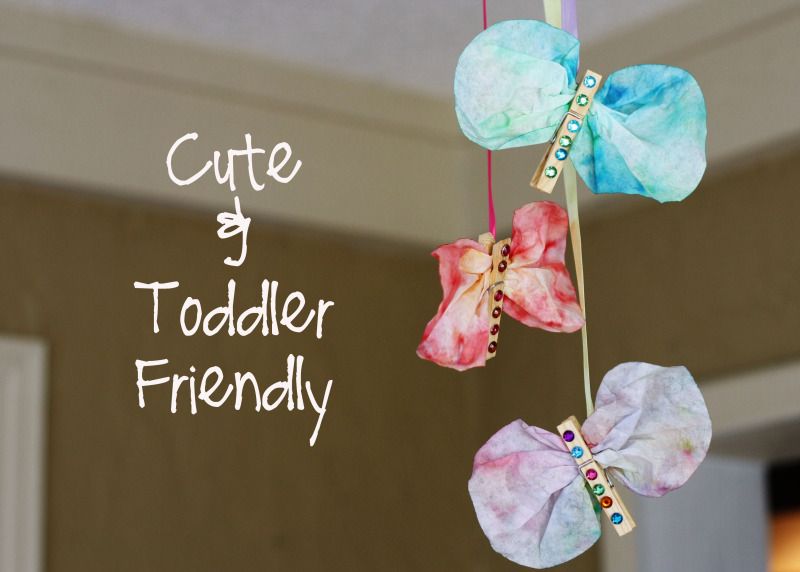
Kid's Craft: Coffee Filter Butterflies


Photobucket

When I was in high school I was a day camp counselor at a resort called Skytop Lodge every summer. Four summers of wrangling 3-10 year olds left a ton of craft ideas in my mental filing cabinet. Sadly many of them aren't 2 year old friendly but I remembered one craft the other day that I thought would be perfect for Aubrey- coffee filter butterflies!

The craft is simple and easy plus the only skill required to complete most of it is the ability to scribble with markers which happens to be right up Aubrey's alley. Another bonus to this craft is that you probably already have the materials in your home. All you need are markers, coffee filters and clothes pins. I unfortunately didn't have the coffee filters (thanks Keurig) or clothes pins but I just picked them up on my regular grocery store shopping trip.


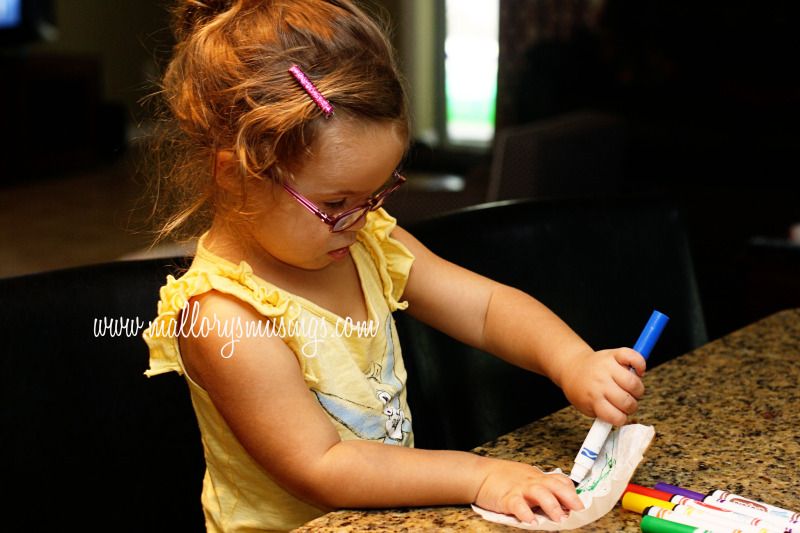
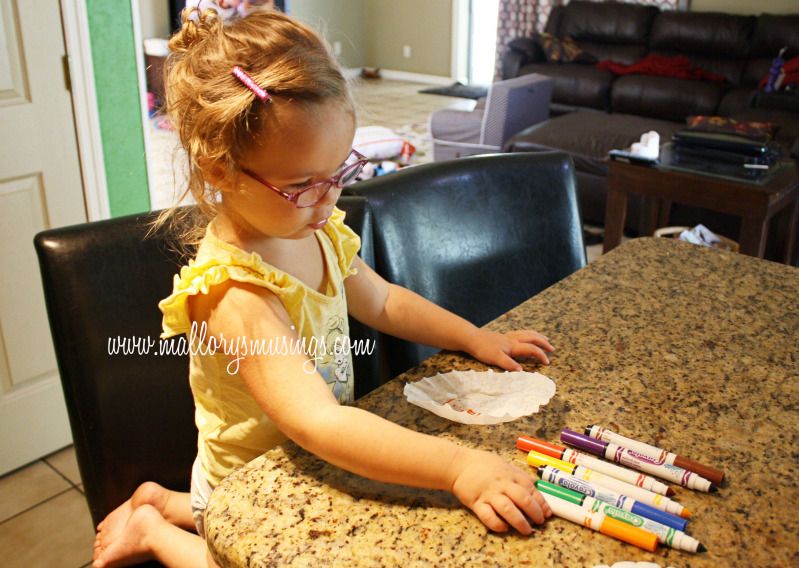
First, get that cute kid of yours to sit down and color a few coffee filters.
Scribbles are encouraged since all the colors will run anyway.
Photobucket
Photobucket

The next few steps are all you unless your child is older. Explain to your child what you are doing regardless especially when you bleed the colors in water. Aubs loved watching that part.

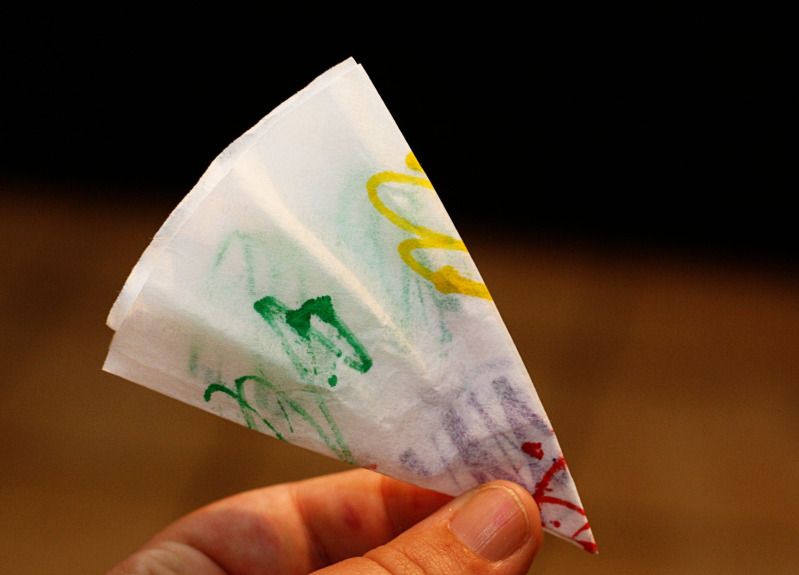
Fold the coffee filters in half 3 times to form a triangle.
Photobucket

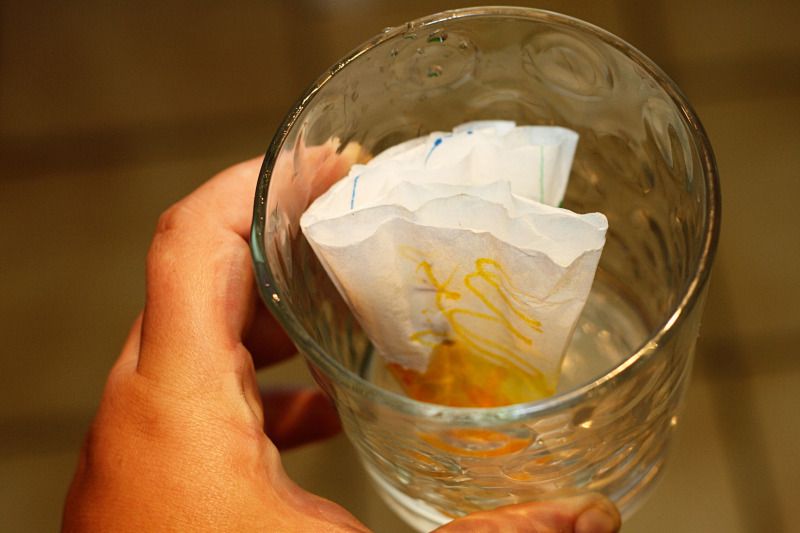
Place coffee filter tip down into a glass or cup with a little bit of water in it and let coffee filter absorb the water almost to the top. It will continue to absorb through once you remove it from the water.
Photobucket

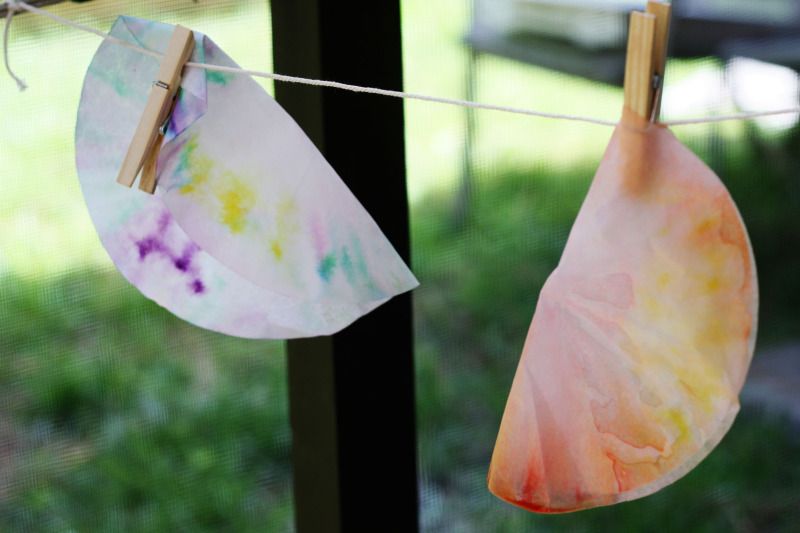
Make those clothes pins do double duty and hang the filters out to dry in the sun.
Photobucket

Once they are dry pinch the middle and clip into clothes pins. You can get fancy like me and add stick on jewels or leave them plain. You could also let your little one have at the clothes pins with washable markers if they (and you) are up to it.
Photobucket


That's it! I hope you enjoy this fun and easy craft and hopefully I can keep adding more as Aubrey gets older.


Wednesday, July 18, 2012

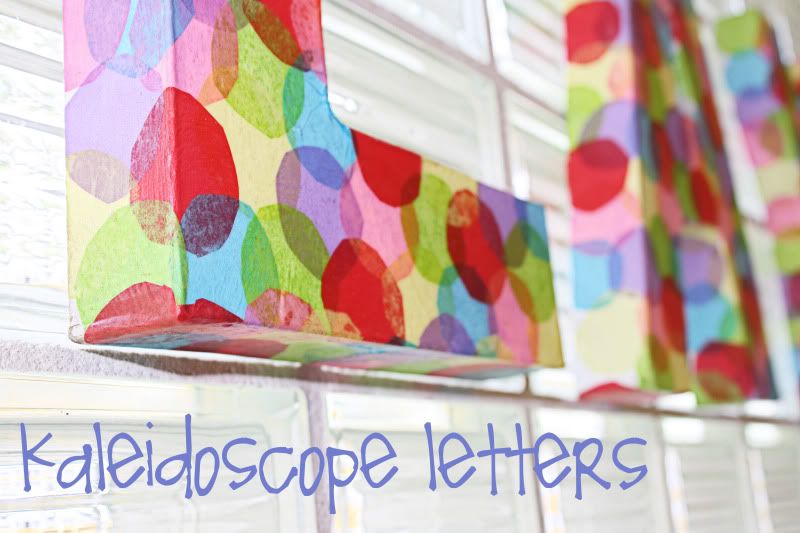
DIY- Kaleidoscope Letters


Photobucket


I have had these cardboard letters sitting in a bag on the floor of our spare room for almost a year now. My original plan was to cover them with fabric by stapling it to the back. I decided that with the curves of the letters this would be kind of difficult and probably not come out the way I had envisioned it. Then I decided I would mod podge the fabric on. Again after thinking it through I thought that it wouldn't look that great and the task would probably be difficult. So there they sat in a Joann Fabric bag until they recently got evicted to make room for the new baby.

It was crunch time, I either had to get rid of these over-sized cardboard letters or actually make something with them. I got my inspiration for these letter from this quilt that I wanted for Aubs but decided was too expensive and a tissue paper bottle craft I used to do as a camp counselor in high school. I'm happy to report that they turned out way cuter than I had expected.

Here's What You Need:

3D Cardboard Letters (wood would probably work too)
White Spray Paint
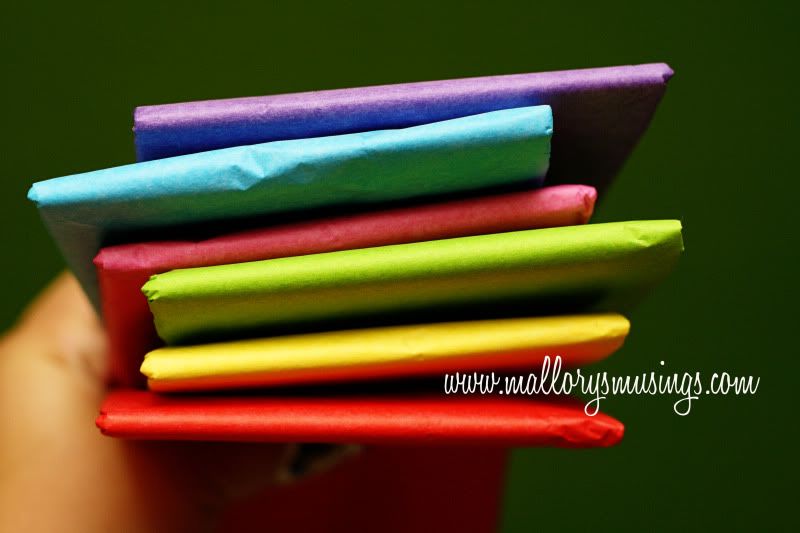
Tissue Paper in a variety of colors
Mod Podge
An Old Paint Brush


First you will want to spray paint your letters white so that the tissue paper colors will really pop once they become semi-transparent from the mod podge. Don't worry I did this outside while wearing a paint mask and no I didn't take pictures of me wearing it.
Photobucket

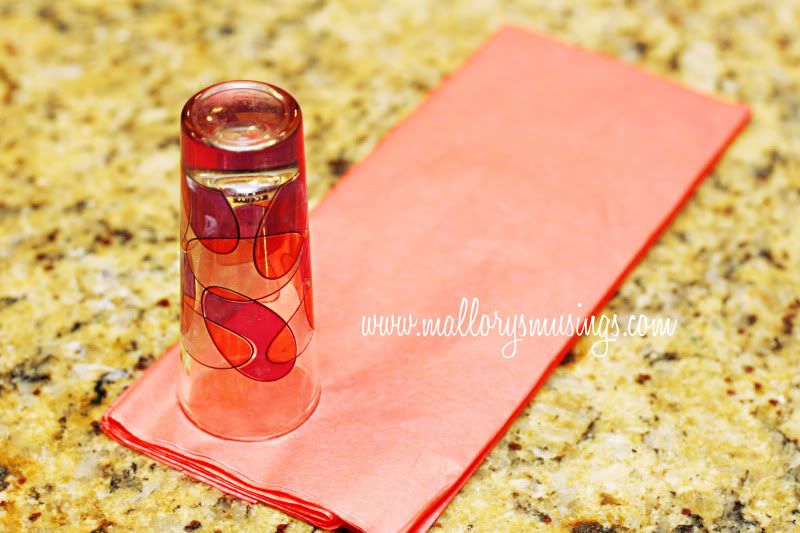
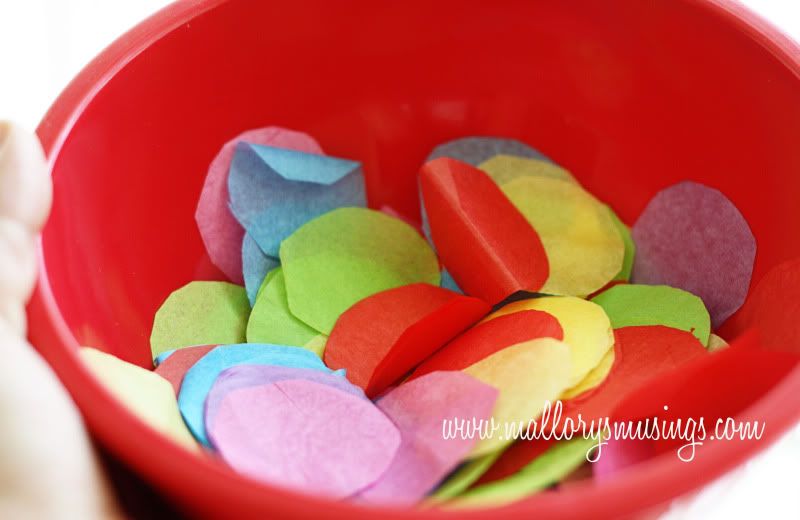
Next you need to cut a bunch of circles out of tissue paper. I left the tissue paper folded as it came in the package and then used a shot glass as my template to trace the circles. By keeping the paper folded, I was able to cut a multiple circles at once.
Photobucket
Photobucket
Photobucket

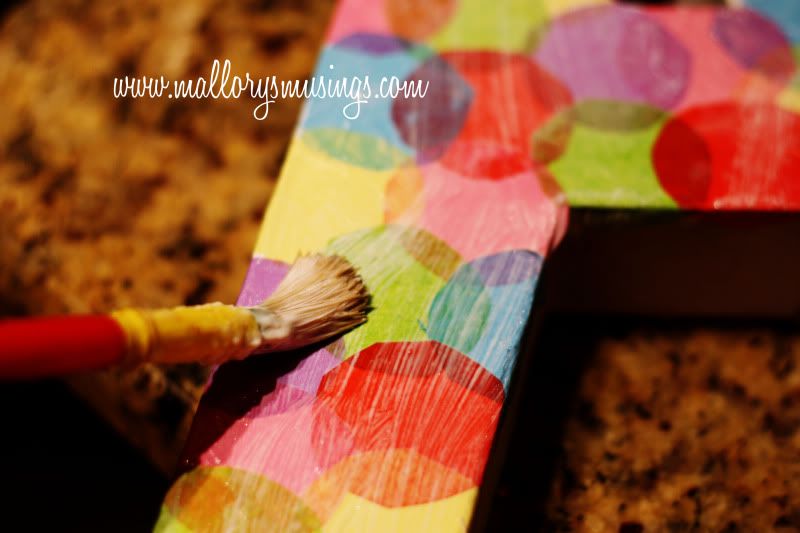
After you have cut the amount of circles that you think you need (depends on the size of your letters and the length of your word), you can start mod podging them to your letters. Using your paintbrush cover a small area of a letter in mod podge and start laying the circles down, overlapping the edges as little bit- venn diagram style. Once you have laid a out a few circles, coat them with a thin layer of mod podge. Try to keep your brush strokes going in one direction because it will have a cleaner look when it dries. Continue to do this until all of your letters are completely covered. I found that it is easier to do the face of the letters first and then go back and do the sides.
Photobucket

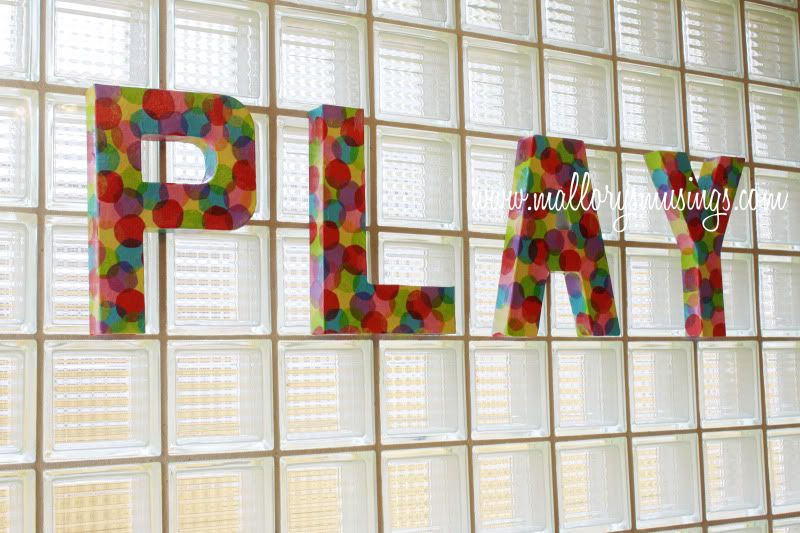
Lay letters flat to dry on newspaper. I let mine dry overnight because I did the project late at night but hey will probably dry in completely a lot sooner than that if you are antsy. Once all the letters are dry and no longer tacky you can go ahead and hang them up. If you go with the cardboard letters you can use double sided tape or glue tabs to hang them because they are so light. They are a fun addition to any room and they look especially cute my girl's playroom.
Photobucket

Photobucket


Thursday, July 12, 2012

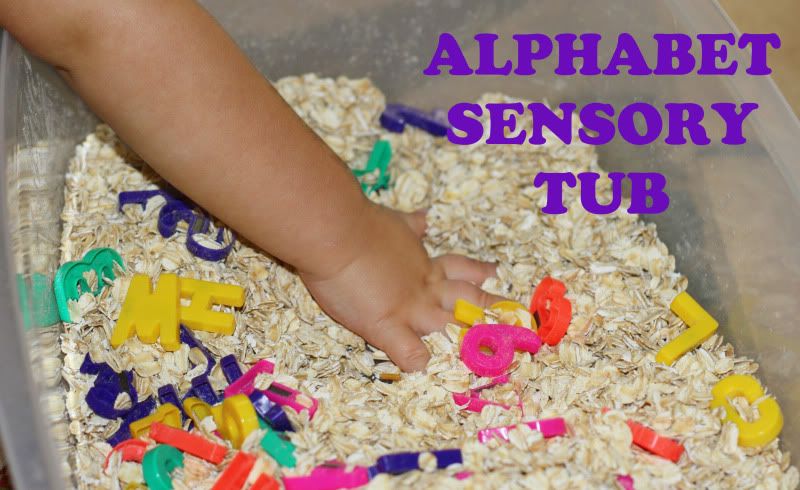
Alphabet Sensory Tub


Photobucket

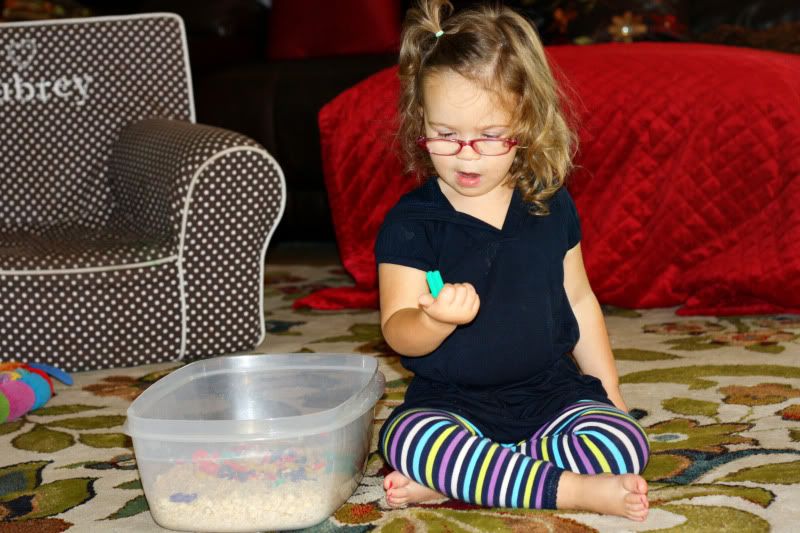
Aubrey is an absolute ace with her alphabet. She can sing her ABCs and identify every letter. She knows the sounds that most of the letters make and she is now starting to associate letter sounds with words. Last week when my husband came out of our bedroom in the morning Aubs shouted, "D for Daddy" out of nowhere. We do a number of activities that involve the alphabet but one of the most fun is our alphabet sensory tub.

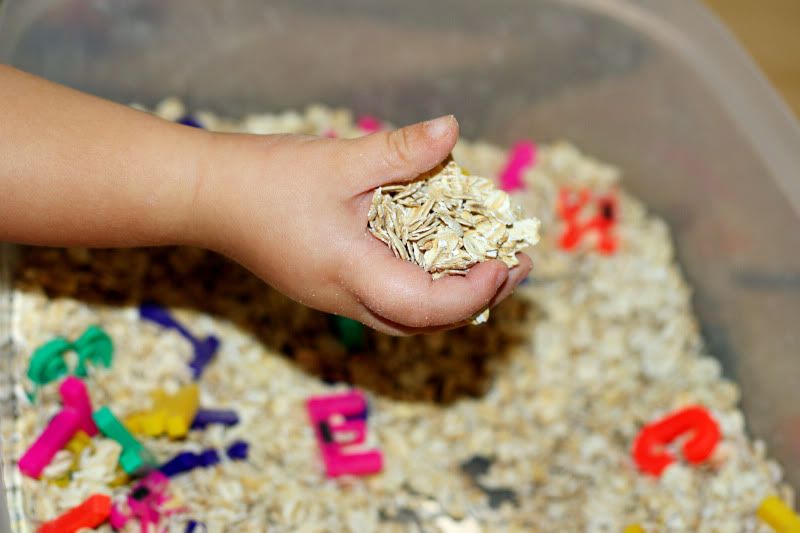
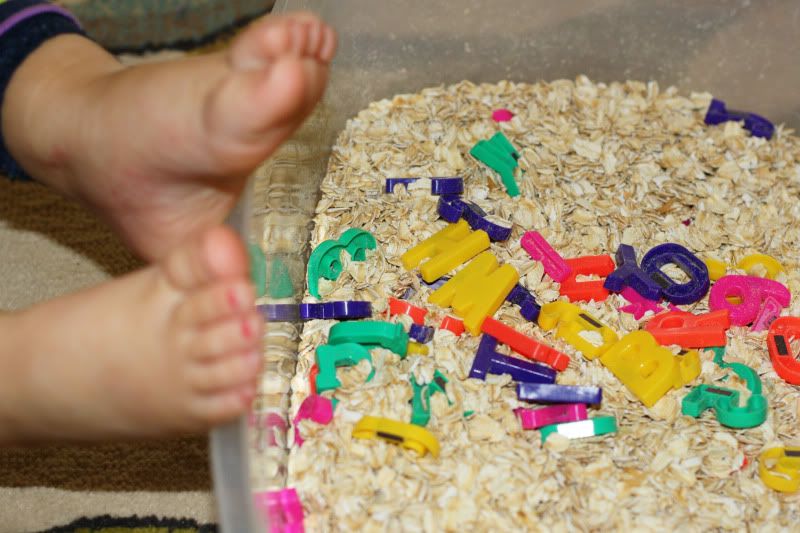
I was cleaning out my cabinets a few months ago and found that nearly a whole container of Quaker oats had expired. I felt bad just dumping them out and then remembered seeing oats used in a sensory table on a blog somewhere. I had been meaning to put some sensory activities together for Aubrey so this seemed like the perfect opportunity. We don't have a sensory table so I dug out a huge Tupperware that I use for Christmas cookies and pretty much Christmas cookies alone because the Tupperware is that big. I put in the oats and felt like it wasn't full enough so I used another container of unexpired oats to bring it up to a level I was happy with. Why do I have two large containers of oats? Beats me, I was probably food shopping and thought that oatmeal chocolate chip cookies (my favorite) sounded good. I then decided to up the ante and add magnetic letters to the mix.

Photobucket

Photobucket

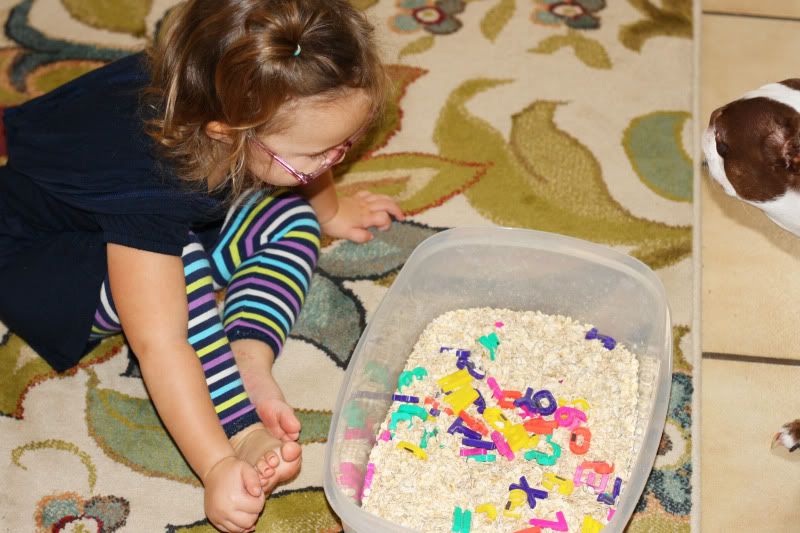
Aubs loves playing with this. Here are some of the activities we do using this sensory tub:

~ Have child find letters and tell you what letters they are
~ Talk about the sounds each letter makes
~ Name words that begin with each letter pulled
~ Name the colors of each letter
~ Group letters according to color or have them find all the letters that are a specific color
~ Help them spell out small words or their name by finding each letter one by one
~ Find letters in the order of the alphabet
~ Just have fun with some plastic cups and sand shovels digging around in the sensory box.


Photobucket

Photobucket


Tuesday, December 13, 2011

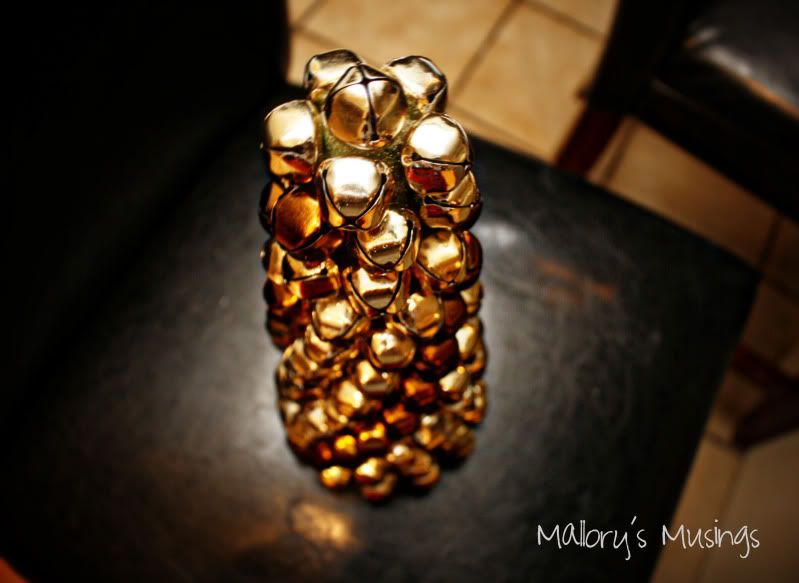
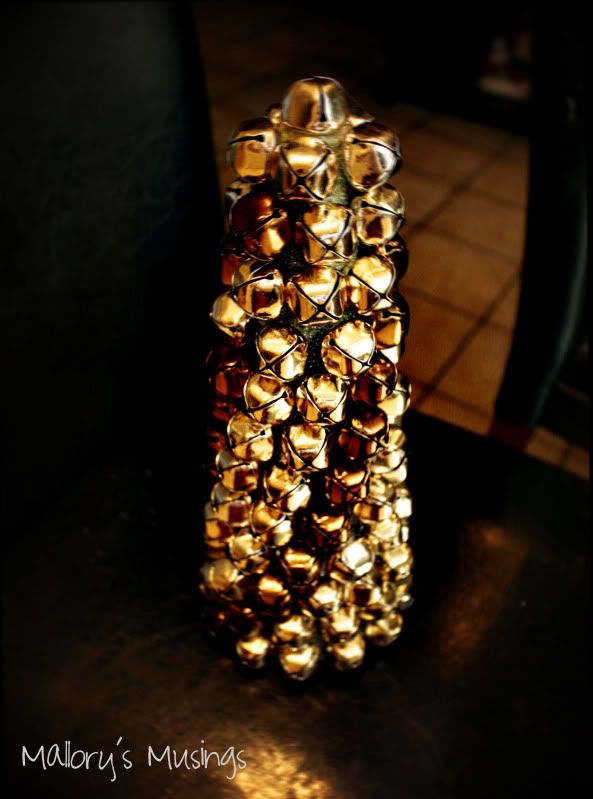
DIY: Bell Tree


Photobucket

Are you sick of my all my foam tree DIYs?
Too bad- here's another one
I'm pretty sure it's going to be my last but no promises
This tree is pretty much the same as the ornament tree except there is no lip to press into the cone so you will be using a whole lot more hot glue this time

Photobucket

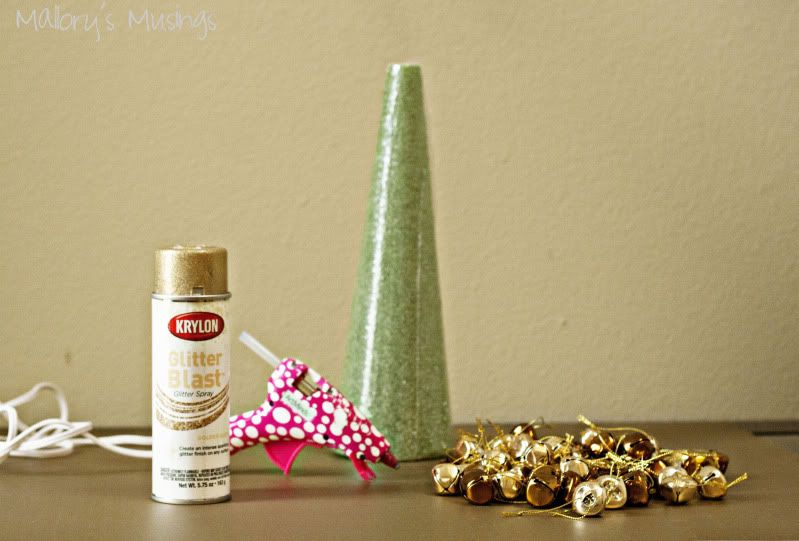
Here's what you need:
A foam cone
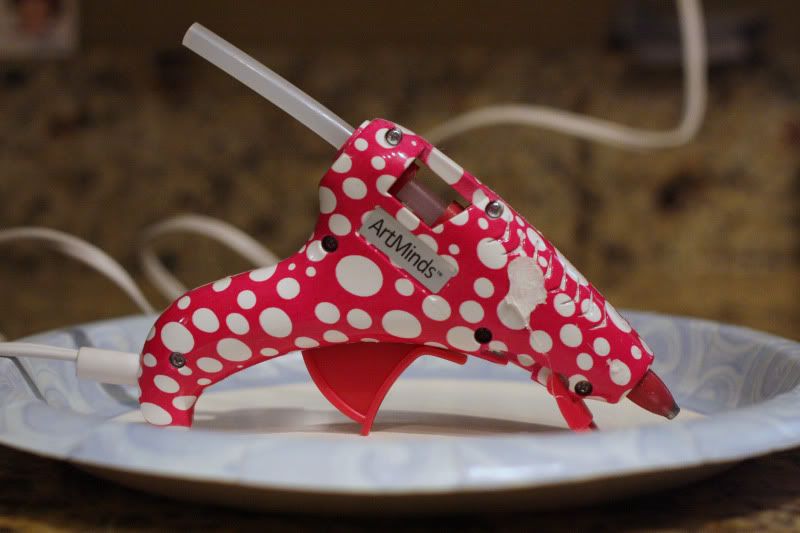
Hot glue gun with plenty of glue sticks
Gold spray paint or match whatever color your bells are
Lots of small bells I used a little over 100 on a 13" cone


Photobucket

The first thing you are going to do is spray paint your cone so that any visible gaps will match your bells.
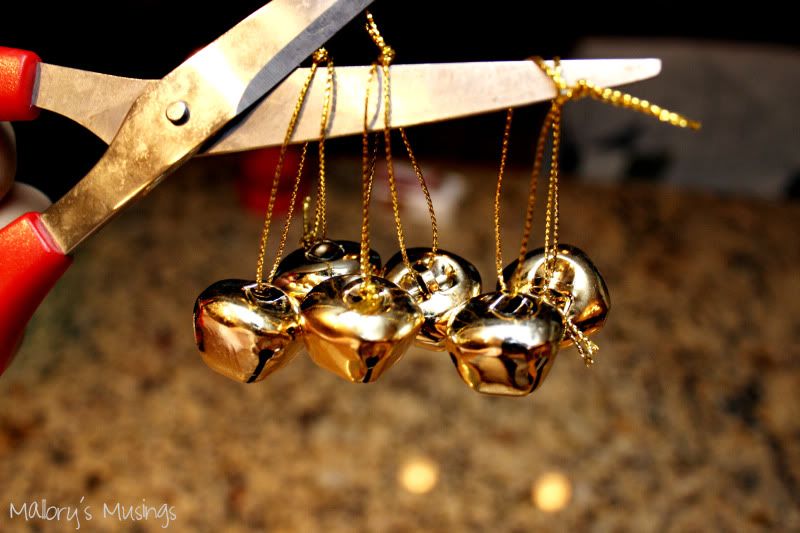
Than you cut the strings off of your bells if they have them.
The quickest way is too line them up on your scissor's blade and snip

Photobucket

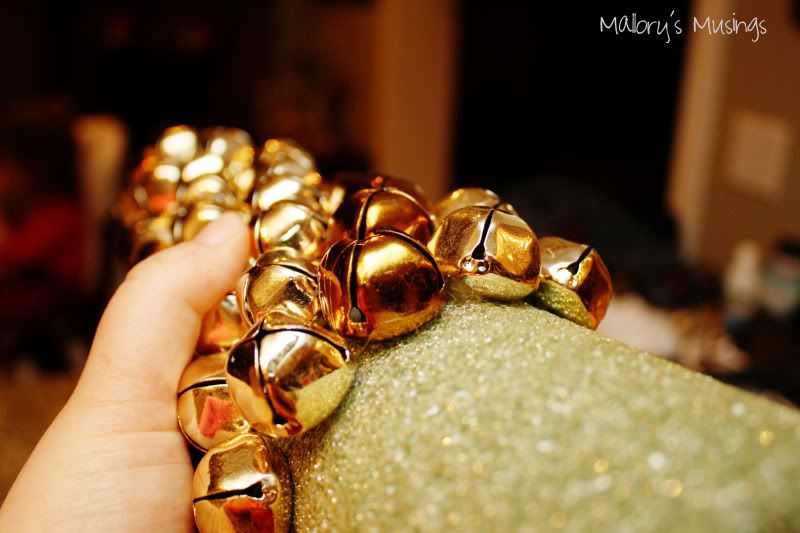
Now- the fun part
You are going to completely cover your cone in bells with hot glue
I started at the top of my cone and worked my way down going in circles
I found this to be the easiest way without having a ton of gaps
Once you are done remove any hot glue strings that may have formed

That's it- another super simple yet gorgeous holiday decoration

Photobucket


Tuesday, December 6, 2011

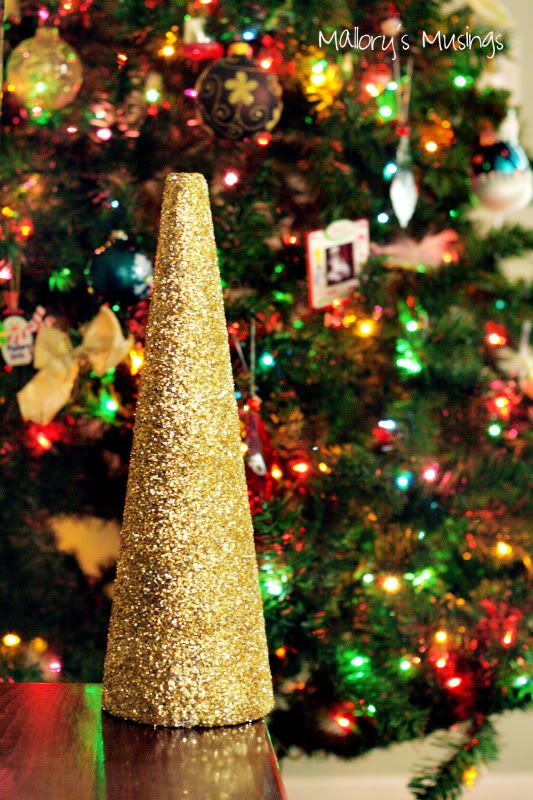
DIY Glitter Tree


This DIY Glitter Chirtmas tree is super simple to make
If you have kids over 3 at home it would probably be a great project to do with them
It can get a bit messy so make sure to have your dust buster near by

Photobucket

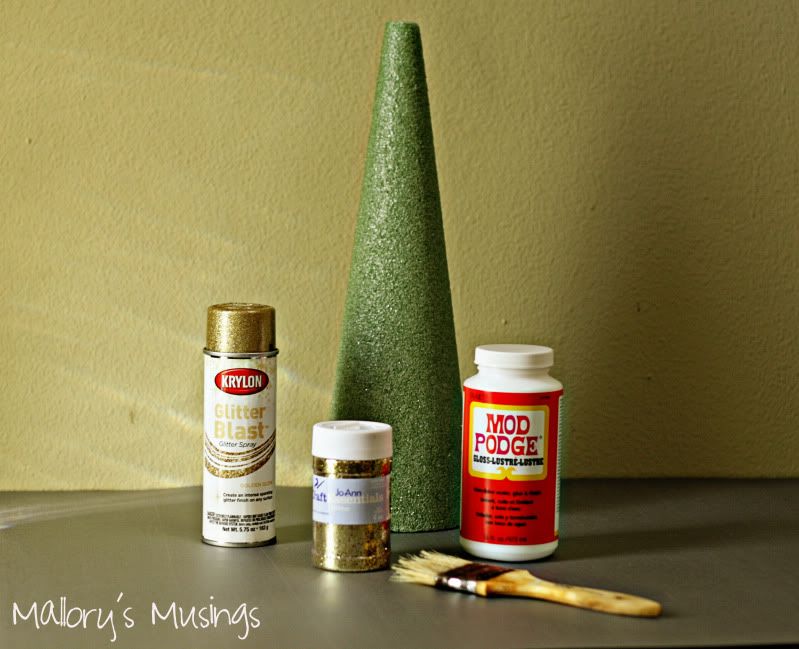
What you need:

A foam cone
Gold or Gold Glitter spray paint (or whatever color your glitter is)
Mod Podge
Glitter- I use gold but feel free to use whatever you have on hand
An old paint brush

Photobucket

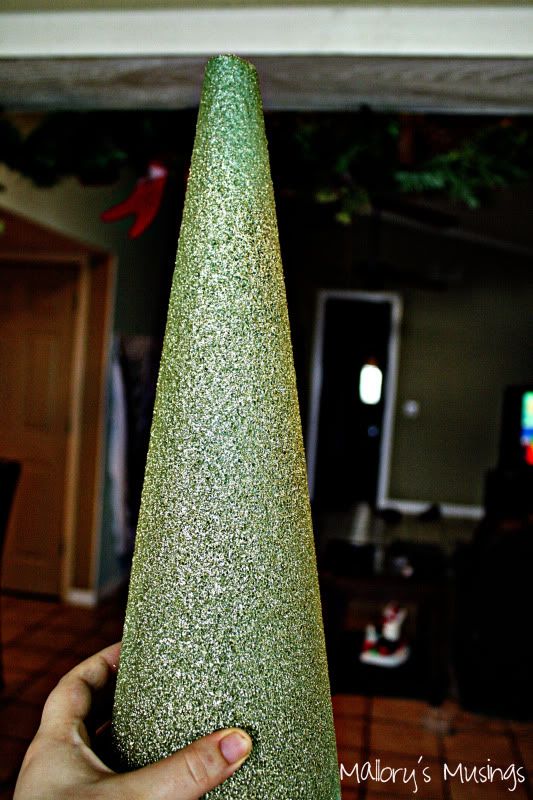
The first thing you do if spray paint your cone
I do this so if there are any spots that don't get good coverage, you won't be able to tell

Always spray paint in a well ventilated area or outside
If you are doing this project with kids you will probably want to do this part yourself
I let my cone dry outside overnight so that there aren't any fumes when I get to work

Photobucket

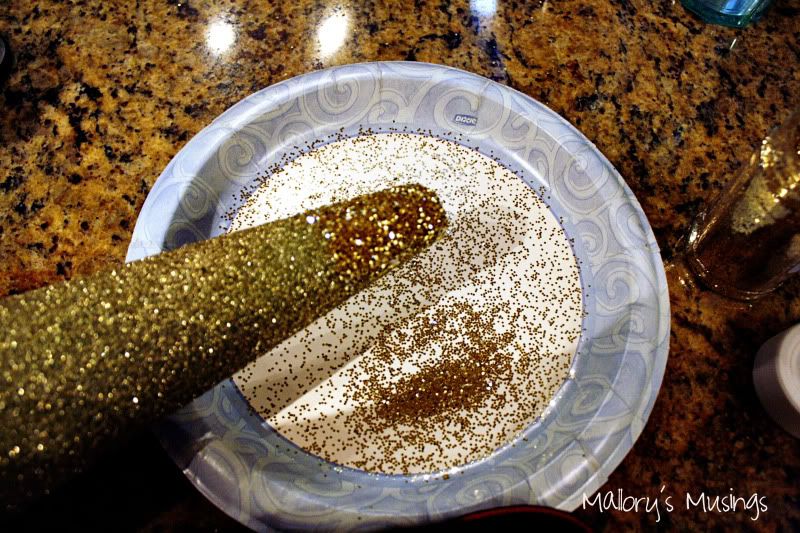
Working in small sections, coat your cone with mod podge using your paint brush
Once you have a small section coated, generously sprinkle on glitter over a paper plate or piece of thick paper
Wait about 30 seconds and then shake excess glitter on to your paper plate

Continue doing this by going around the cone and then working your way down until the cone is completely covered in glitter.

Let cone dry for about and hour and shake any excess glitter off.

You are now ready to use it as a decoration
If you'd like you can also spray a clear coat on cone to better hold the glitter
I will probably do this before packing it away at the end of the season

Photobucket

Tuesday, November 29, 2011

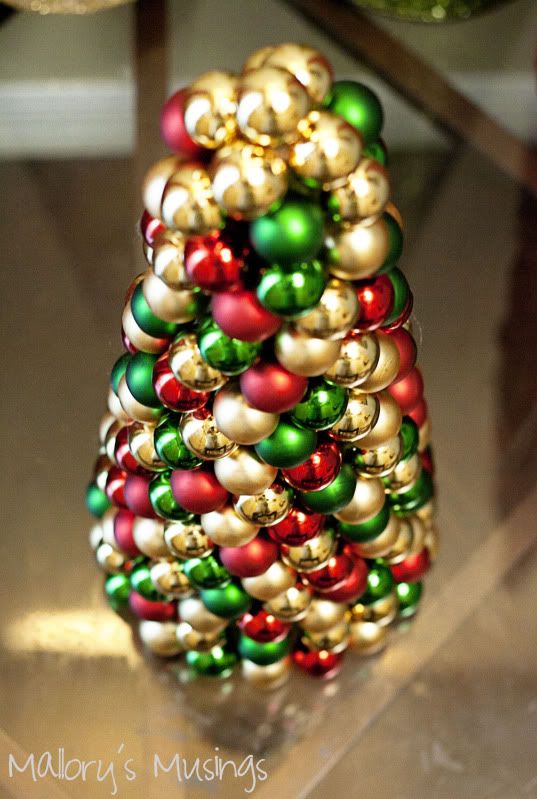
DIY: Ornament Tree


Photobucket

In our house we have two big closets in our foyer that are not only great for storage but they have ledges on top that are great for putting holiday decorations on. For Christmas we usually put a bunch of poinsettias up there but this year we are changing it up.

When I was at Home Goods a few weeks ago I found some good deals on cone style Christmas trees. I snagged about 8 of them but my price tag was getting a little high so I stopped there. When I got home I had the genius idea that I could make a few of my own using foam cones from the craft store.

For the first one I decided to attempt an ornament tree. These types of trees can be pretty pricey when they are bought already made. They can actually be pretty pricey to make too if you don't hit good sales or use old ornaments that you already have in the house. I fortunately hit up Joann's when they were having a 60% off sale so I was able to get boxes of 27 ornaments for a little under $2.50.


Alright~ enough back story. Here is what you will need:

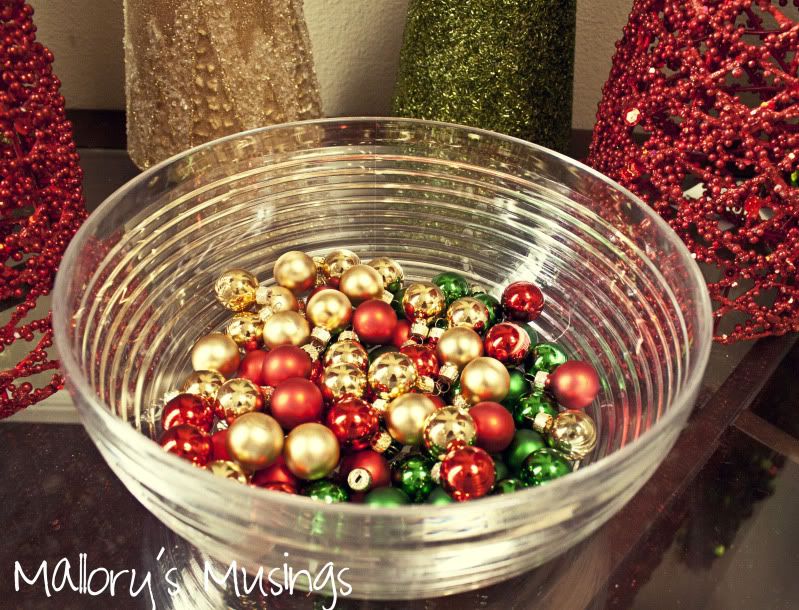
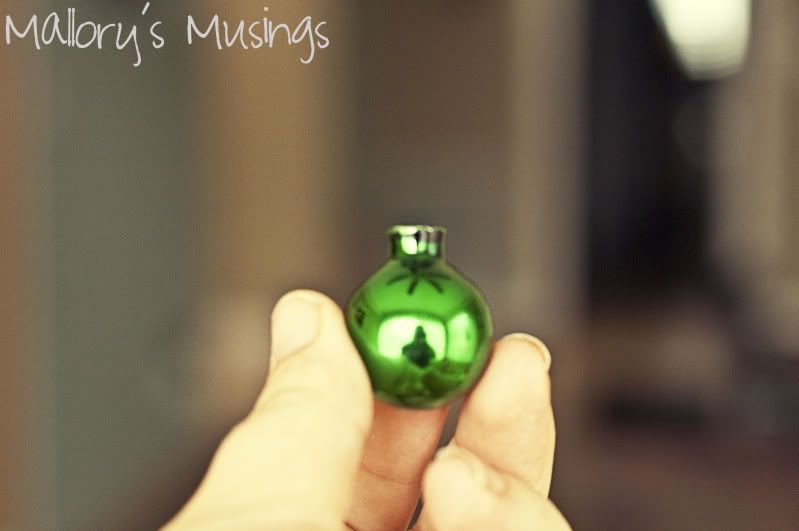
Lots of small glass ball ornaments. I used 3 boxes of red, 3 boxes of green and 3 1/2 boxes of gold. I used roughly around 250 ornaments. You may need more or less depending on how large your cone is.
Photobucket

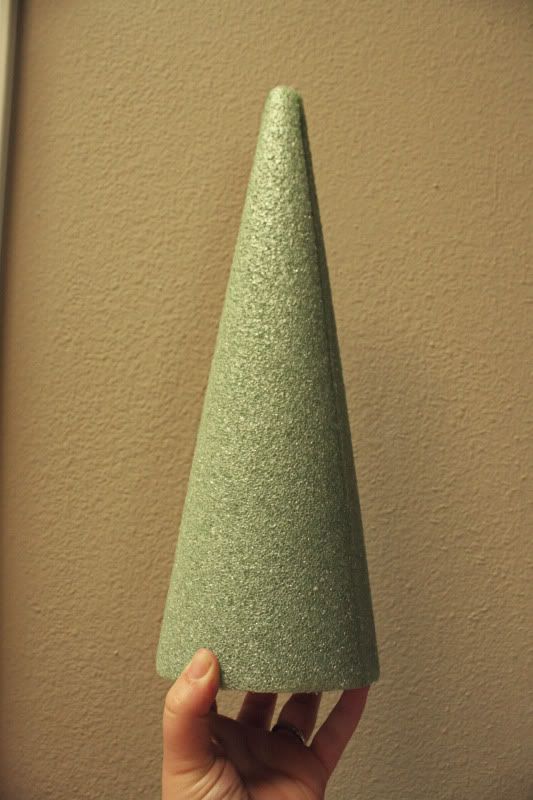
A foam cone from a craft store such as Joann Fabrics, Michael's or A.C. Moore.
Mine was 15" x 4"
Photobucket

A glue gun
Photobucket


This is what you are going to do to create that fabulous tree!

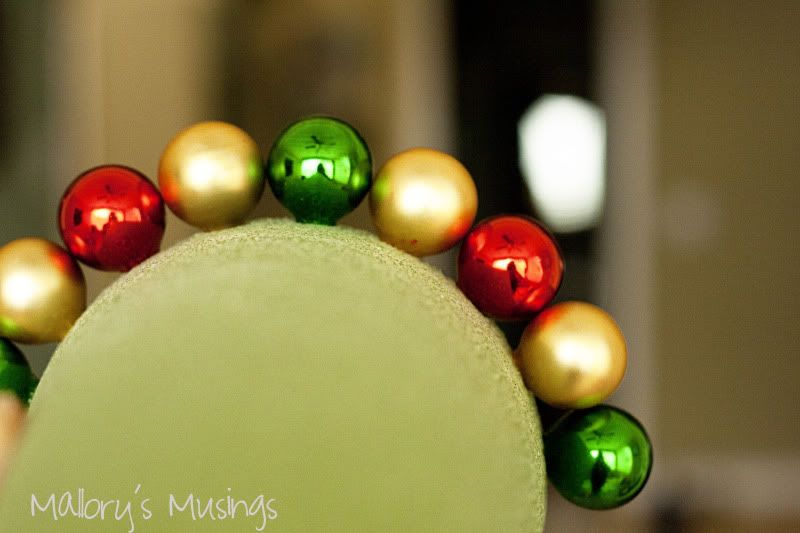
First remove the top piece that holds the hanging hooks from your ornaments.
If you remove all of them before hand the process of covering the cone will go a lot smoother.
Photobucket

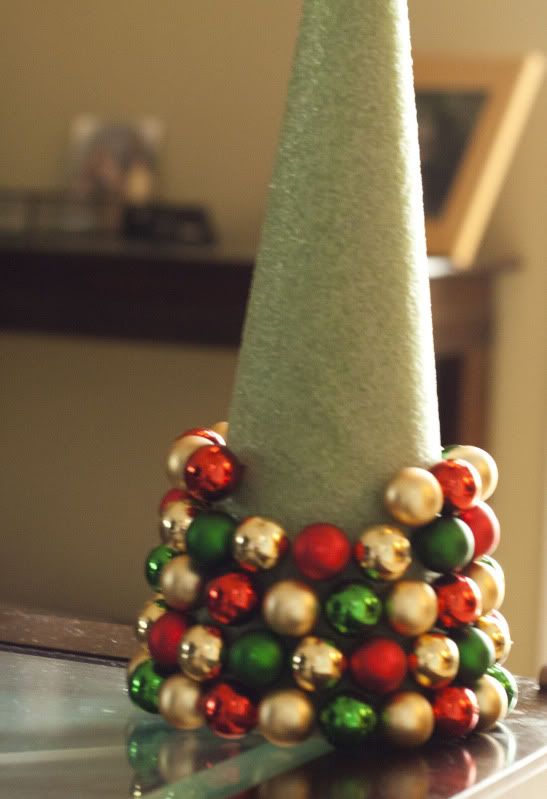
Now comes the fun part. Starting from the the base of the cone you are going to push the lip of the ornament into the foam. If the ornament feels firmly planted in the foam then there is no need to hot glue it. If it feels a little loose or if you'd just like the reassurance you can remove the ornament from the foam, add a bit of hot glue and put back into the same stop you had it in before. I up ended hot glueing my whole first row because it was the part that I held onto the most and some of the ornements became loose after so much handling.
Photobucket

Continue doing this row by row. There are going to be small gaps here and there but once it is completely covered they will be unnoticeable. This is pretty much all you do. It is a little tedious but as it gets smaller towards the top the process speeds up.
Photobucket

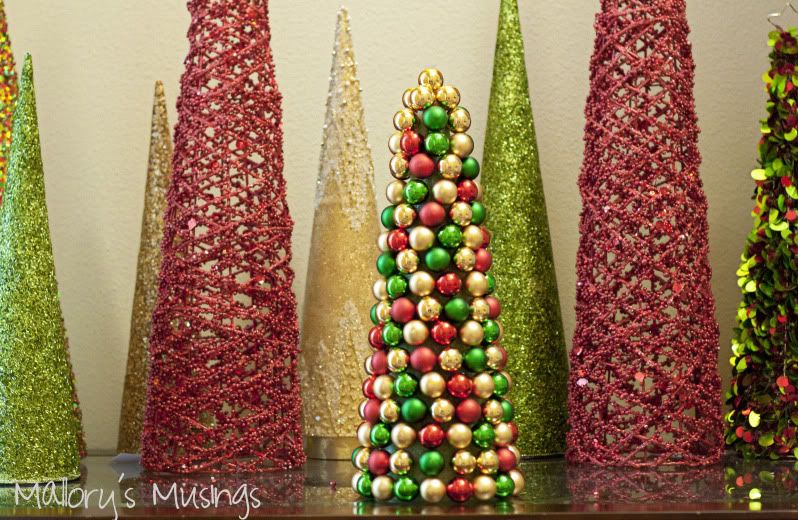
One you have the cone completely covered check to see if there are any loose ornaments. You can to this by light feeling around with the palm of your hand to see if any of them move. Glue any ornaments that feel wobbly. After you glue your last few in place, wait a few minutes and then remove any hot glue strings that may have formed.

That's it- simple and beautiful!
Photobucket

Pin It


I have three other cones that I am in the process of decorating also.
If they all turn out as good as this one I will definitely be sharing.


Related Posts Plugin for WordPress, Blogger...