Home About Me Recipes Do it yourself Doodle Sponsor

Showing posts with label recipes. Show all posts

Friday, May 4, 2012

Quinoa Salad Obsession


Photobucket

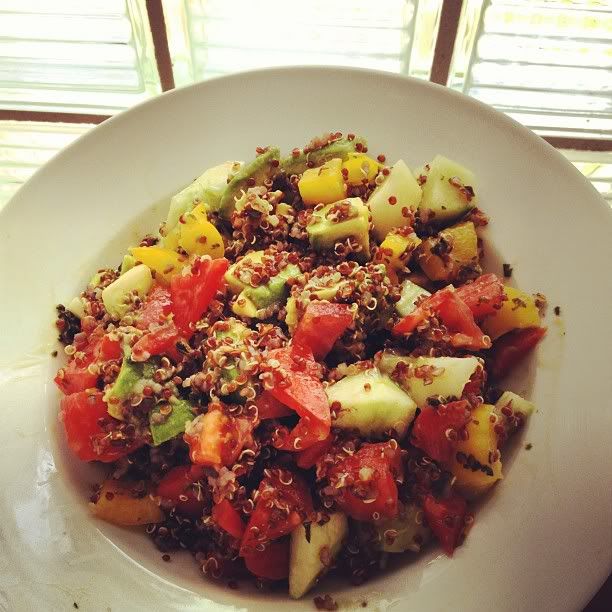
I've been kind of obsessed with this salad lately. For the past four days I have eaten it for at least one meal. One morning it was for breakfast because I was hungry and I figured, why not? It is based on this recipe that I found last year and have made a handful of times.
I make mine in single serve portions. At the beginning of the week I will make a batch of quinoa and keep it in the fridge so I can use it as I please. I also keep cucumbers and bell peppers cut up in tupperware containers so that I can't use the "I don't have the time" excuse when it comes to washing and slicing up veggies. You can probably make a few servings of this at once to save even more time, I would just hold the avocado until you are ready to serve it.

Here's what I put in mine:

Salad

1/2 to 1 cup red quinoa- depending on how hungry I am
1/2 cup chopped cucumber
1/2 cup chopped bell pepper
1 small chopped tomato
1/2 a avocado cut into cubes

Dressing

1 Tbsp Lime Juice
1/2 Tbsp Balsamic Vinegar
1/2 Tsp Garlic Powder
Minced Cilantro to Taste- my case a lot
Dash of Salt

Mix all ingredients well. Enjoy immediately or refrigerate for later omitting avocado until serving. Also feel free to play around with the dressing and the add ins. The possibilities are endless.


Click To Vote For Us @ the Top Baby Blogs Directory! The most popular baby blogs


Thursday, April 12, 2012

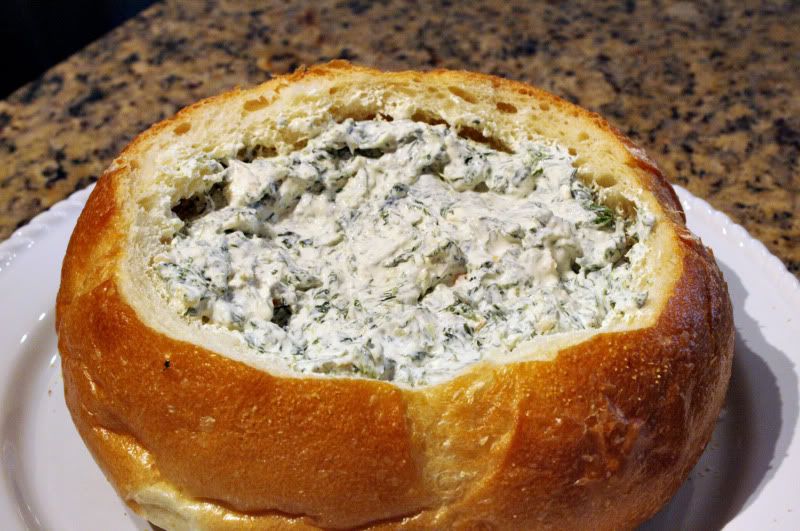
Spinach Dip Remix


Photobucket


So, I am sure that you all have had this at a party at some point in your life. The famous veggie soup spinach dip in a bread bowl. I make this all the time for parties because not only is it easy but it's a crowd pleaser.

If you know me than you know that it is pretty hard for me to leave a recipe untouched, this recipe is no exception. The little tweaks that I do are that I add a teaspoon of garlic powder and I omit the mayonnaise and add 8 oz of softened cream cheese instead. This makes the texture of the dip a little bit thicker and it also makes it hold up better when you have it sitting out for a long time or outside.

You can find the recipe on the back of pretty much every dried vegetable soup mix but I will break it down for you here just in case.

Ingredients:
1 packet of dried vegetable soup mix such as Knorr or Lipton
10 oz package of frozen spinach- thawed with excess water squeezed out
16 oz container of sour cream
8 oz of cream cheese softened
8 oz can of water chestnuts- chopped
1 tsp of garlic powder

Combine all ingredients and refrigerate for at least two hour or preferably overnight. Serve in a hollowed out round of sourdough or pumpernickel bread.

Tuesday, March 27, 2012

Heathy Eats


I've been trying to eat a lot of healthy fresh foods lately. Not that you shouldn't eat healthy all the time but I think it is especially important when you are pregnant. My main drive for doing this is my energy levels. They have been super low lately and since I can't just pop open a redbull, I need to find other sources to give myself more energy. I find that when I eat fresh food and drink tons of water my energy always goes up. So, I thought I'd share my favorite lunch and breakfast meal with you in case you need a little healthy inspiration.

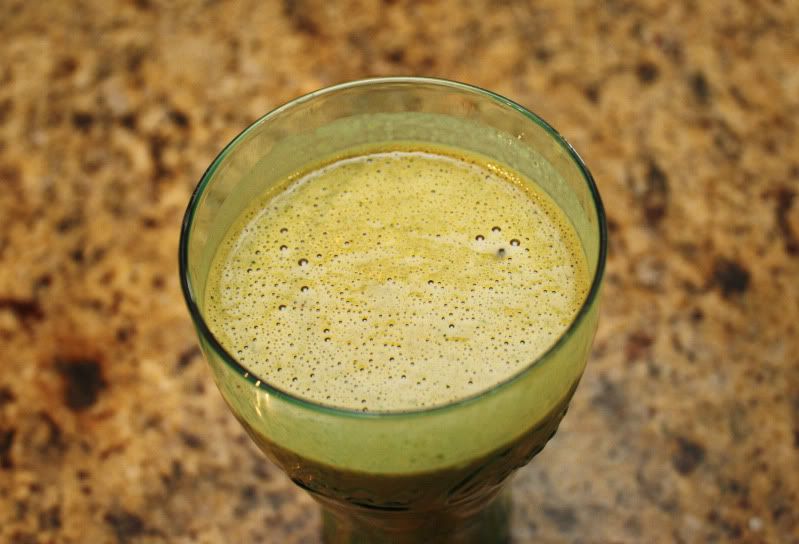
Green Smoothie

Photobucket

2 big handfuls of baby spinach
1 frozen banana (I wait until mine start to go brown and then peel them and freeze them in sandwich bags)
1-2 tbsp of Better N' Peanut Butter
1/2 tbsp chia seeds
1 cup of almond milk

If you don't have a frozen banana you can use a fresh one but throw a couple of ice cubes in with the mix. Also I think it's important to put your spinach on the bottom so the rest of the ingredients weigh the spinach down so that it chops finer.


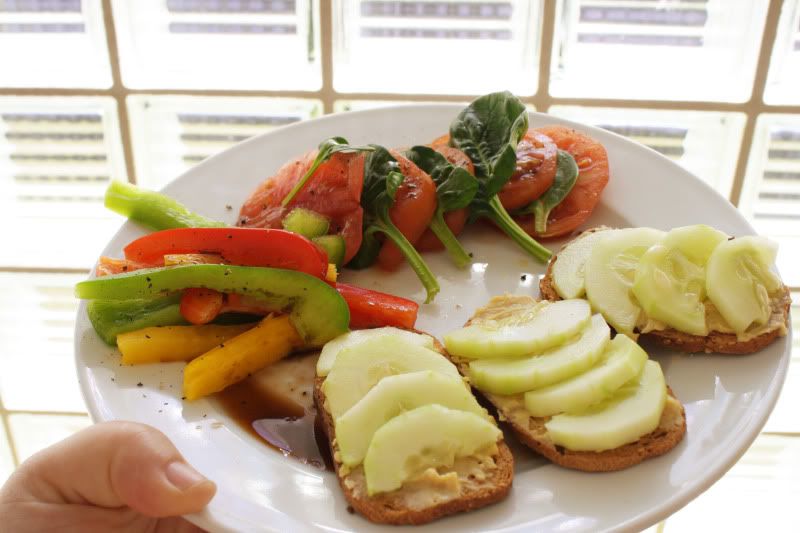
Veggie Lunch Plate

Photobucket

This lunch is easy fresh and delicious. Just get a bunch of your favorite raw veggies and sprinkle with salt, pepper & balsamic vinegar. On this plate I have tomatoes, baby spinach and bell peppers. Then get a few pieces of sesame Melba Toast and spread on some hummus and top with sliced cucumbers. Sooo good- even Aubs approves but then again she will eat pretty much anything that I put balsamic vinegar on.


Make sure you stop by tomorrow for my big gender reveal! The baby was a little shy at first but then started to show off towards the end so we got a pretty clear shot of his/her goods.


Tuesday, January 10, 2012

Healthy in 2012


So far I have been doing pretty well with my resolution of eating better and exercising regularly. Last week I only managed to make it to the gym 3 days instead of 5. Some days it's hard for me to squeeze it in. The best time for me to go is in the morning. The problem with that is that all of my moms meetups and Gymboree classes are in the morning. This usually only leaves about two days during the week open that I am able to go in the morning. I can always go in the afternoon, which I often do. The glitch in that plan is that sometimes Aubs naps a long time and I hate going to the gym after 4 because it seems like I have to rush home to make dinner. I'm trying to get better at scheduling a crock pot meal for the days that I am busy in the morning so that I don't have any excuses not to hit the gym.

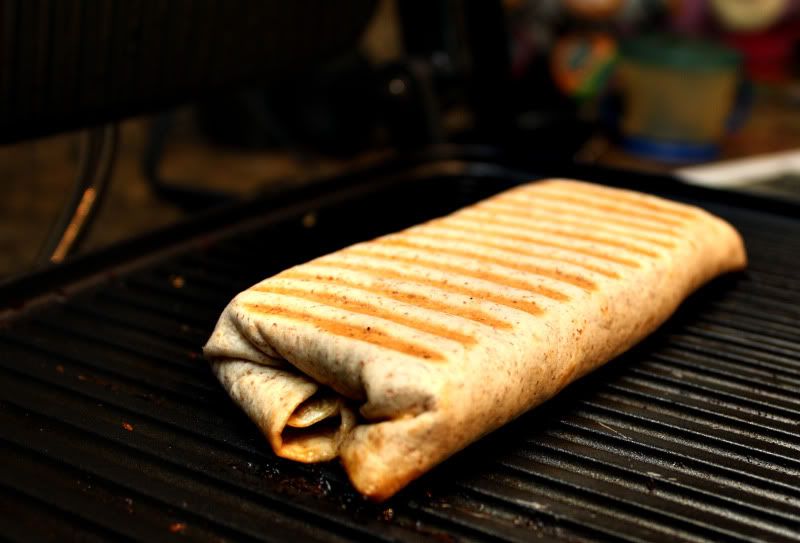
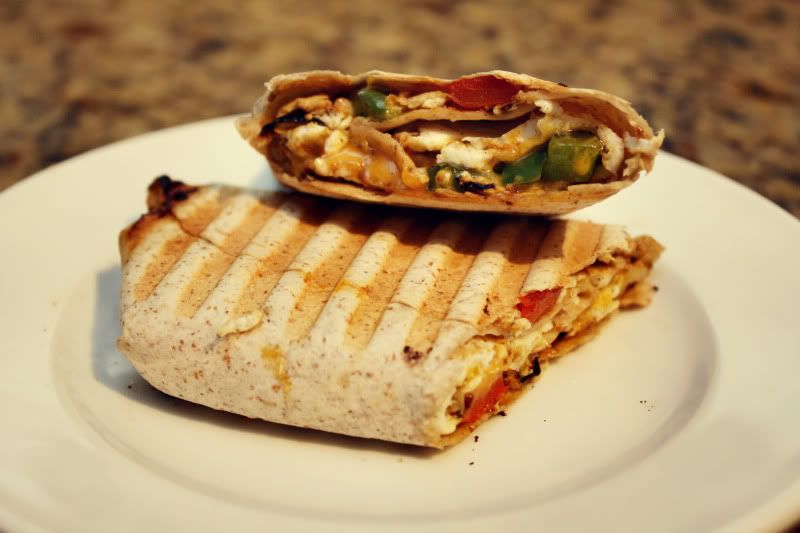
Another thing that I have been making sure to do is eat a healthy breakfast. Sometimes I'm not that hungry in the morning but I make myself eat something anyway. If I skip breakfast I usually end up starving by lunch and making poor choices on what to eat. Or I'll start picking at things and adding unneeded calories to my diet. I thought that today I would share one of the meals that I have been eating for breakfast for the past couple of weeks. I probably eat this breakfast wrap 3 or 4 times a week.

Ingredients

Pam Olive Oil
Small garlic clove- mined
About 1/8-1/4 cup chopped yellow onion
1/4 cup chopped bell peppers
2 egg whites
Black pepper to taste
1/4 cup low fat cheddar
A whole wheat low carb wrap

Directions

Photobucket

Heat a skillet over medium heat and spray with Pam. Add garlic, onions & pepper and saute for about 5 minutes. While these are cooking separate your eggs (unless you are using liquid whites) and add black pepper. Once the onions are translucent and the peppers are softened add your egg to the skillet. Since the skillet is hot the egg will cook in about a minute to a minute and a half. Once the egg is cooked through remove skillet from the heat.

Photobucket

Next take your wrap and place it in between two paper towels and cook in the microwave on high heat for 20 seconds. Remove from microwave and slide your eggs off of the skillet and on to the wrap. Then sprinkle your cheese on top.

Photobucket

Now roll up your wrap by folding in the ends and rolling tightly. Place rolled wrap seam down on heated panini press. Press wrap for about 2 minutes or until toasted.

Photobucket

Slice on a angle and enjoy!


I also have a winner for the Dondalee ring giveway.
Congratulations to Melissa from Hairbows N' More


Thursday, January 5, 2012

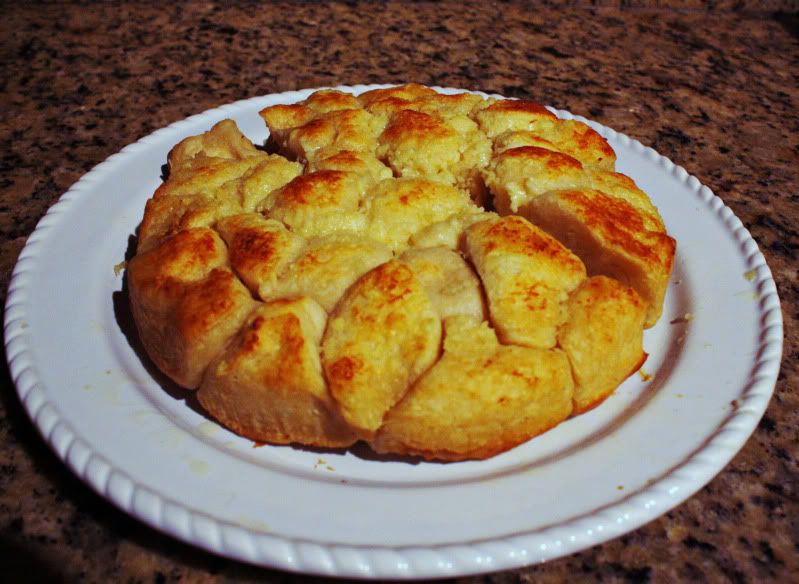
Best Garlic Bread Ever!


So I know I'm suppose to be all healthy in 2012 but.....
This garlic bread is AMAZING!!!
I had to share it
I made it for the boys birthday on the 22nd, again on Christmas and then again New Years Day

Photobucket

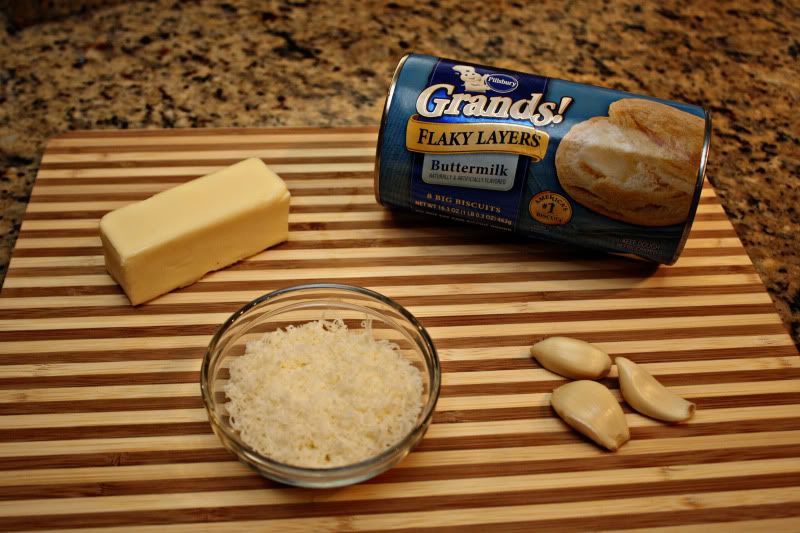
Ingredients:

Package of refrigerated biscuits
1/2 a stick of butter
2 or 3 cloves of garlic- minced
1/4 shredded Parmesan cheese

Direction:

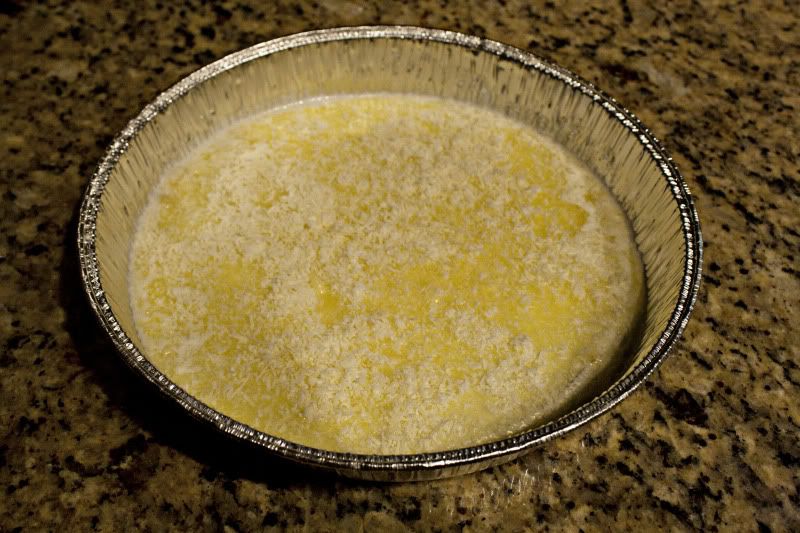
Preheat Oven to 375 Degrees. Melt butter and pour into a 9" cake pan and evenly coat.
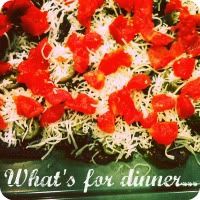
Then sprinkle on Parmesan cheese and minced garlic.

Photobucket

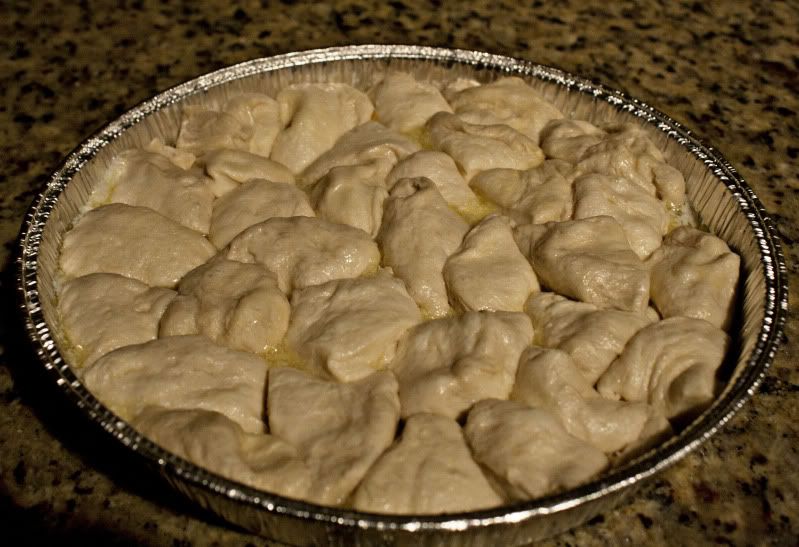
Now pop open your biscuits and cut each one into fourths.
After all of your biscuits are cut, smoosh them into one layer in the cake pan.

Photobucket

Once you have all your biscuits in the pan, place it in the oven for 15-18 minutes on the middle rack or until biscuits puff up and are browned. Within the first few minutes of taking the pan out of the oven, flip it over onto a plate.
You may need to use a butter nice to loosen some of the sides.

Photobucket

Pull apart and enjoy!

Thursday, December 29, 2011

Skinny Broccoli Cheddar Soup


After the holidays most of us need to cut back on the calories and fat a little bit. I have developed a small addiction to broccoli cheddar soup over the past few months. I had actually never really had a creamy soup until about 3 years ago. I had convinced myself that I didn't like them because I knew they were usually super high in calories and fat. I caved a few years ago and tried some baked potato soup. After the first taste I knew I was a goner. My taste buds thanked me but my thighs did not.

Since I have been trying to shed some lbs. I decided to try out some healthier versions of my favorite creamy soups. Like I said before, I have a bit of an addiction to broccoli cheddar soup. Particularly Panera Bread's broccoli cheddar soup which basically tastes like Velveeta and heavy cream with some broccoli and carrots mixed in. The healthier version that I am going to share with you holds no comparison to that but it does help you get your flavor fix without od-ing on fat and calories. The original recipe is from the Eat What You Love cookbook but I of course changed it around a bit.

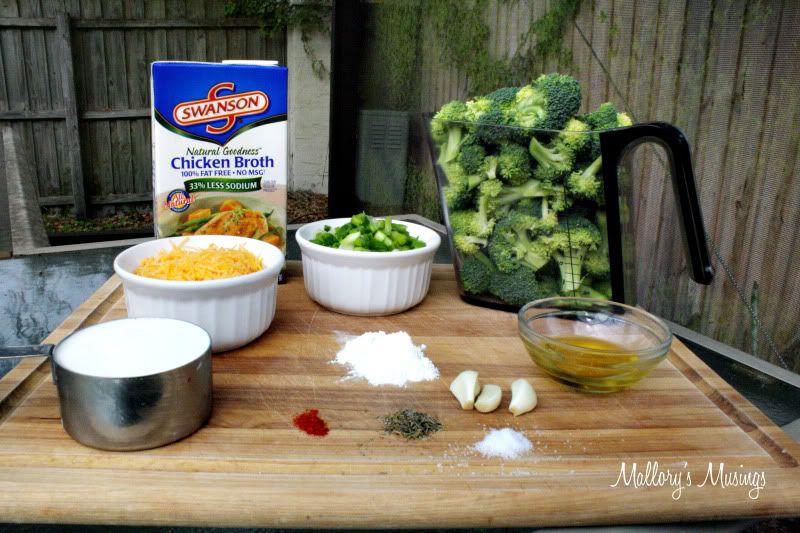
Photobucket

*Ingredients*

2 tsp olive oil
1 cup chopped green onion
3 garlic cloves- minced
3/4 tsp dried thyme
4 cups reduced sodium chicken both or you can use vegetable broth if your a vegetarian
5 cups fresh broccoli florets- I used almost 2 heads
1 tbsp cornstarch
2/3 cup nonfat half and half
Pinch of cayenne pepper
1 tsp salt
1 1/2 cup shredded reduced fat sharp cheddar

*Directions*

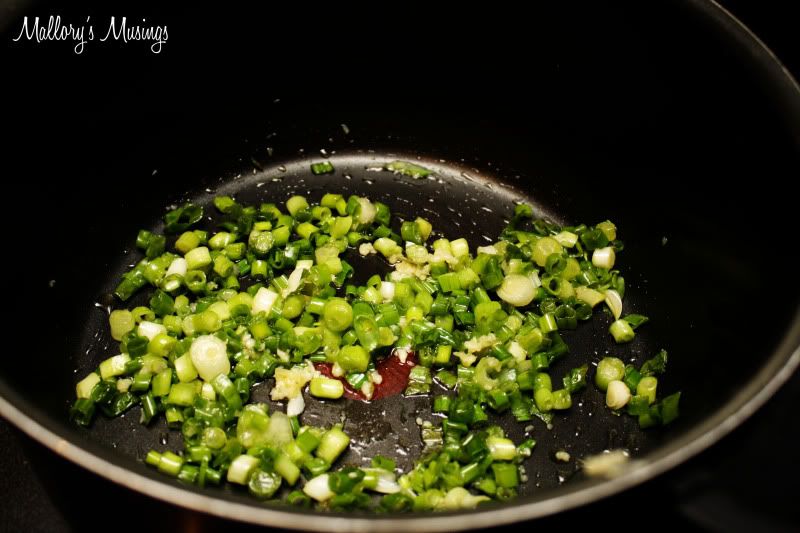
Heat oil in a medium pot over medium-low heat. Add green onion and garlic and cook for about 4 minutes or until onions are soft. Mix in thyme.

Photobucket

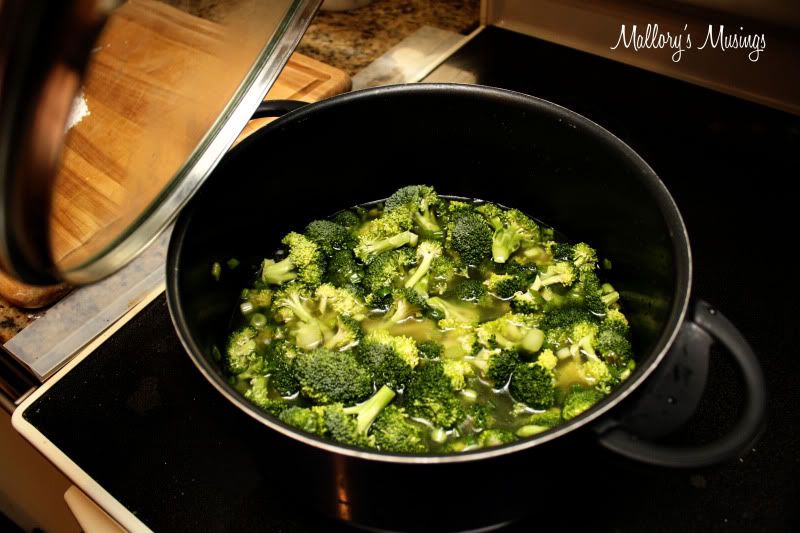
Add broth and broccoli to pot. Cover and simmer for about 10-12 minutes or until broccoli is tender but not mushy.

Photobucket

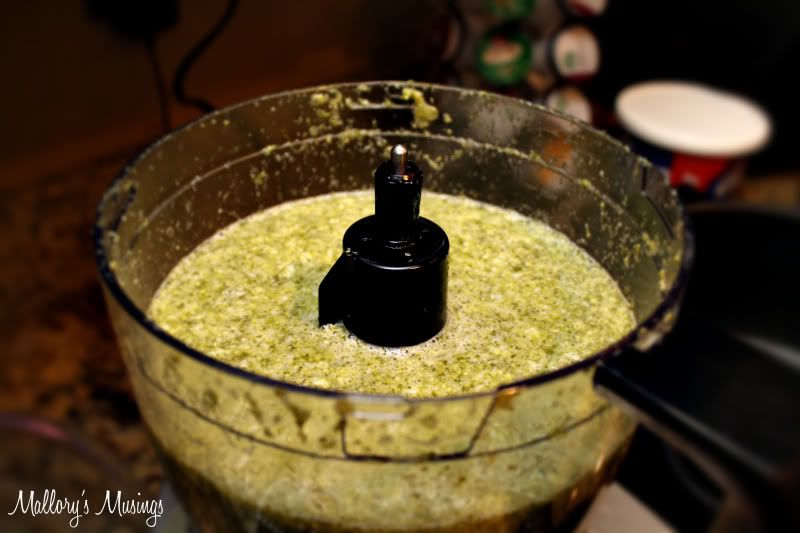
Transfer the soup to a blender or food processor and puree until smooth. Pour soup back in pot.

Photobucket

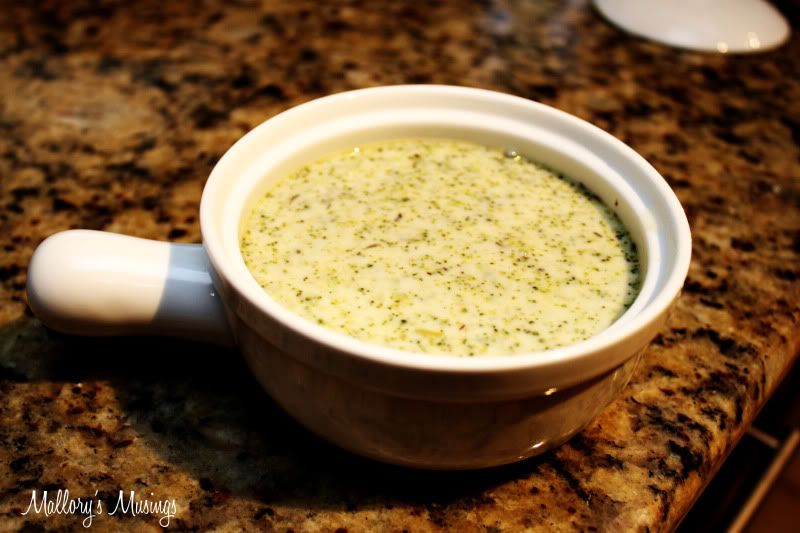
Whisk together the cornstarch and half and half in a small bowl. Pour mixture into the soup. Add cayenne pepper and salt to the soup. Gently heat to a low simmer and cook for 5 minutes or until soup slightly thickens. Stir cheese into soup and cook for one more minute or until cheese is melted.

A cup of soup is about 180 calories and 6 grams of fat compared to most broccoli cheddar soups which average 280 calories and 18 grams of fat.

Photobucket

Thursday, December 1, 2011

Bacon & Cheese Dip


I found this recipe in an ad for Daisy Sour Cream and thought I would try it out for Thanksgiving. It ended up being a huge hit.
I also made it the other day for my Moms group picnic and it was also a big hit there.
On top of being super delicious, it is also super easy to make.

Photobucket

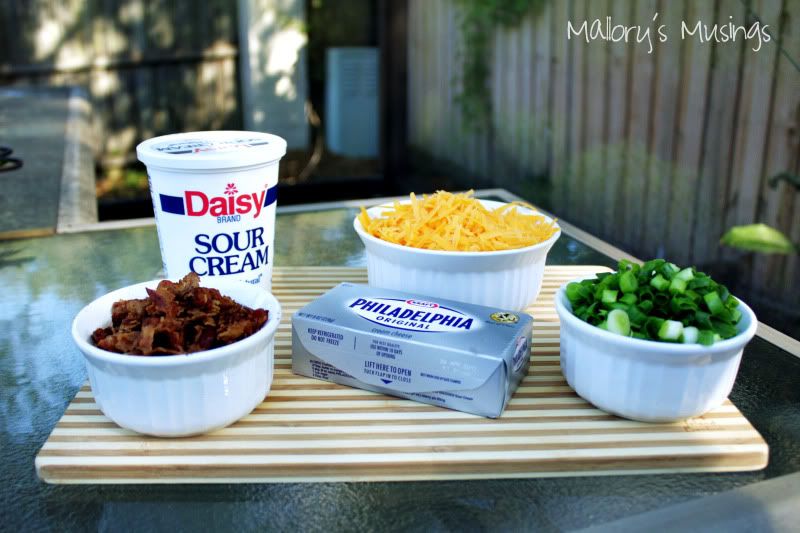
Ingredients

8 oz cream cheese softened
16 oz sour cream
2 cups shredded cheddar cheese- plus about 2 tbsp to sprinkle on top
1 cup chopped green onions
3 oz crumbled bacon- you can also use turkey or soy bacon based on your diet

Round loaf of sourdough bread


Directions

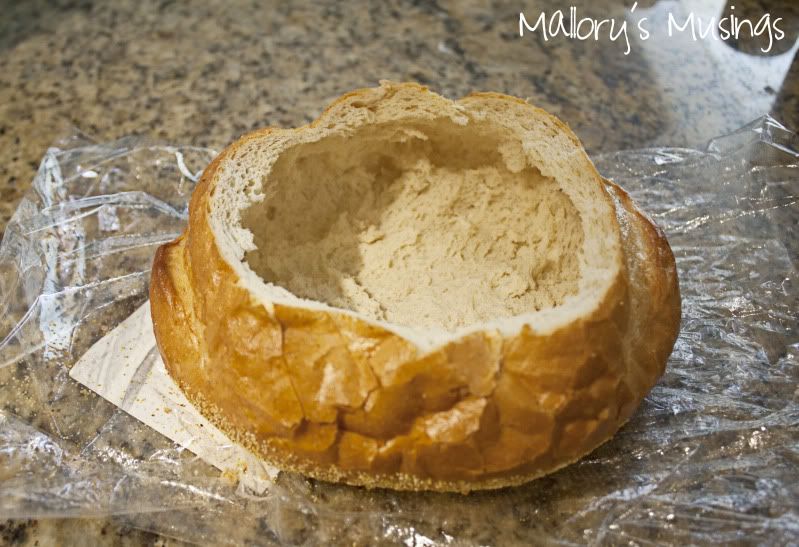
Preheat oven to 400 degrees and hollow out you sourdough bread. Make sure not to butcher your bread because you will need the pieces you remove for dipping. I find it easiest to cut the top off on an angle (jack o' lantern style) and then hollow out the edges after the bulk of your bread is removed.

Photobucket

Next you are going to combine all of your ingredients for the dip. First mix together the cream cheese and sour cream until smooth. Then stir in cheese, green onions and bacon. You can do this by hand but I always use my stand mixer to make dips because I think it mixes them up the best and because it is easier.

You are now going to fill your hollowed out bread bowl with your dip.
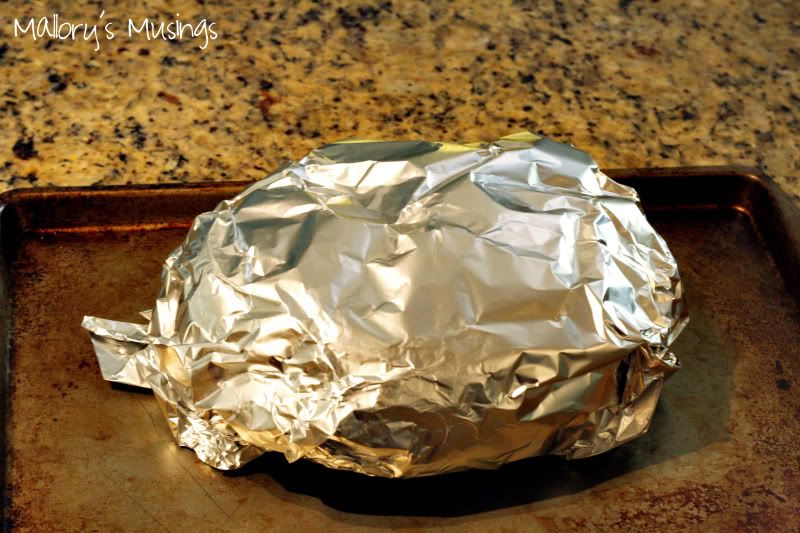
Loosely wrap the bread bowl in foil and place on a baking sheet.

Photobucket

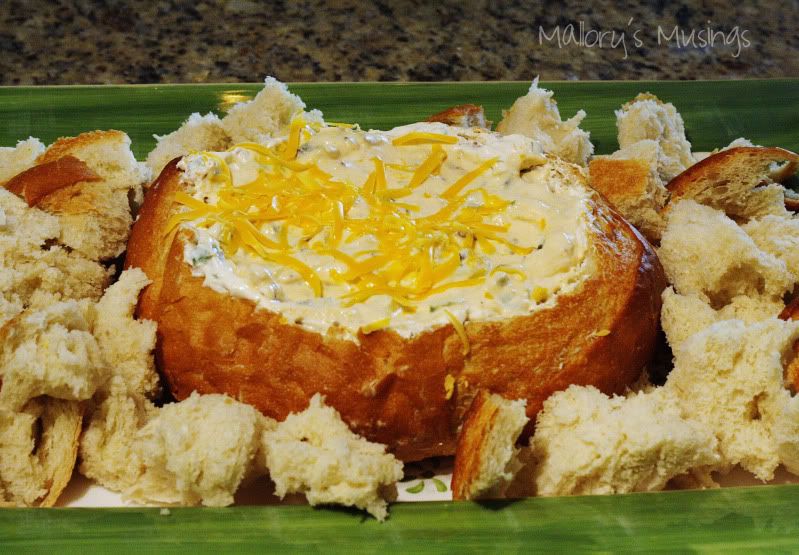
Bake at 400 degrees for 25 minutes. After 25 minutes remove the foil and sprinkle 2 tbsp of cheese on top. Place back in oven for 5 more minutes or until cheese is melted and bread begins to brown.

Serve warm with cubed sourdough bread and pita chips

Photobucket

Around My Family Table

Thursday, November 17, 2011

Cherry Cheesecake Cookies


Photobucket

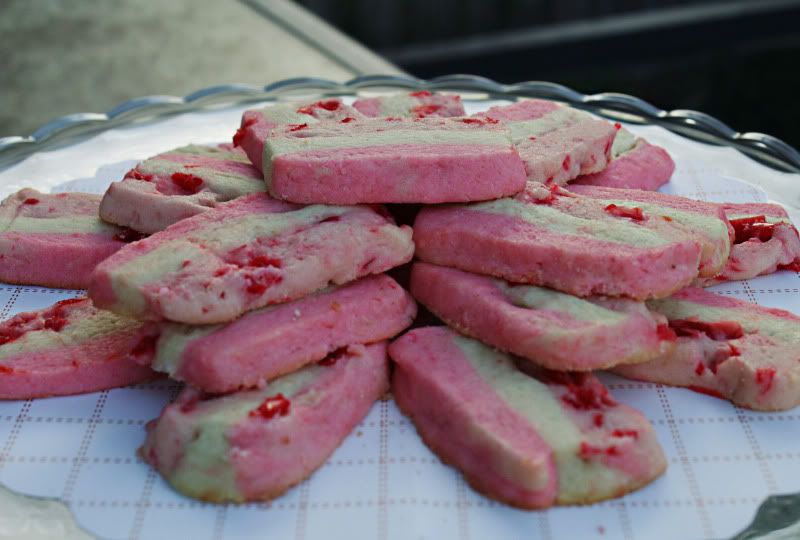
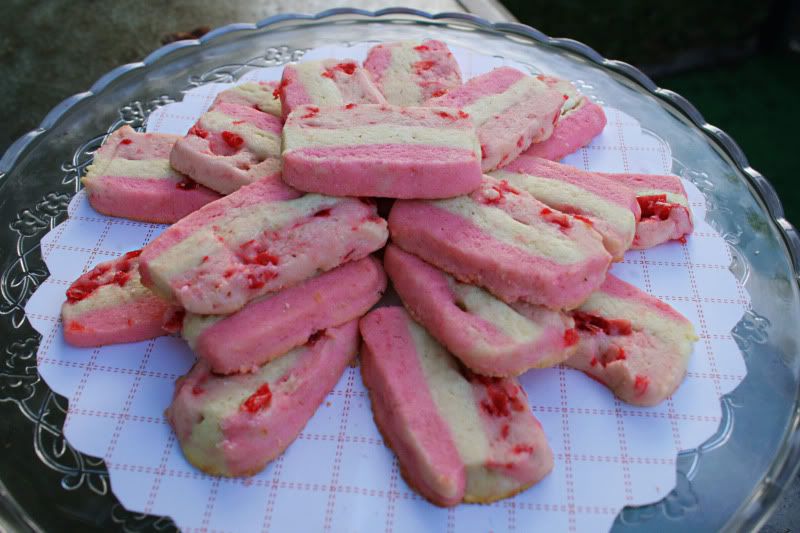
These cookies were such a pain to make because of the layering. They tasted great though so next time I make them I think I am going to skip the bar part and just make them slice cookies. I also though they could have used a little bit more cream cheese flavor so I am going to play around with adding more cream cheese and a little more flour to even out the consistency.

I found this recipe in Better Homes and Gardens

Photobucket

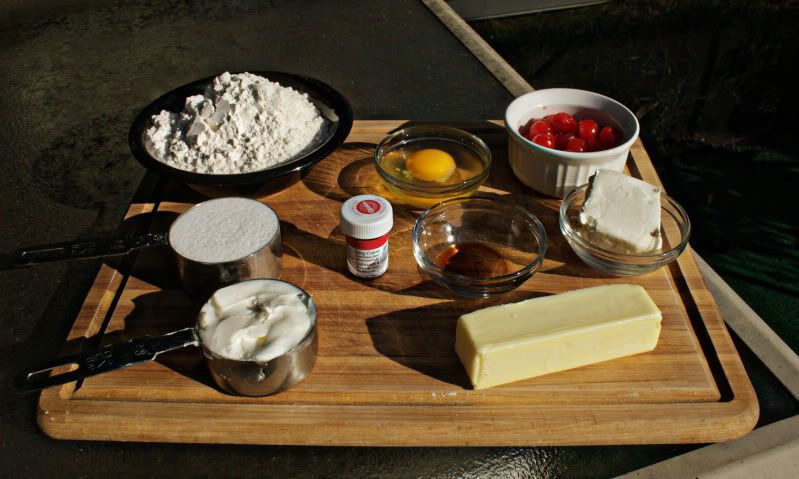
Ingredients

6 oz jar of maraschino cherries
1/2 cup butter softened
1/2 cup shortening
3 oz cream cheese softened
2/3 cup sugar
1/2 tsp salt
1 egg
1/2 tsp vanilla
2 cups all purpose
Red food coloring (I used frosting tint b/c I was out)
Milk- small amount for layering dough

~ Drain cherries and reserve juice. Pat cherries dry with paper towel and finely chop. Set aside

~ In large bowl combine butter, shortening, and cream cheese. Beat with electric mixer until combined. Beat in sugar and salt. Remember to scrap down edges. Beat in egg and vanilla. When all ingredients are combined, gradually beat in flour.

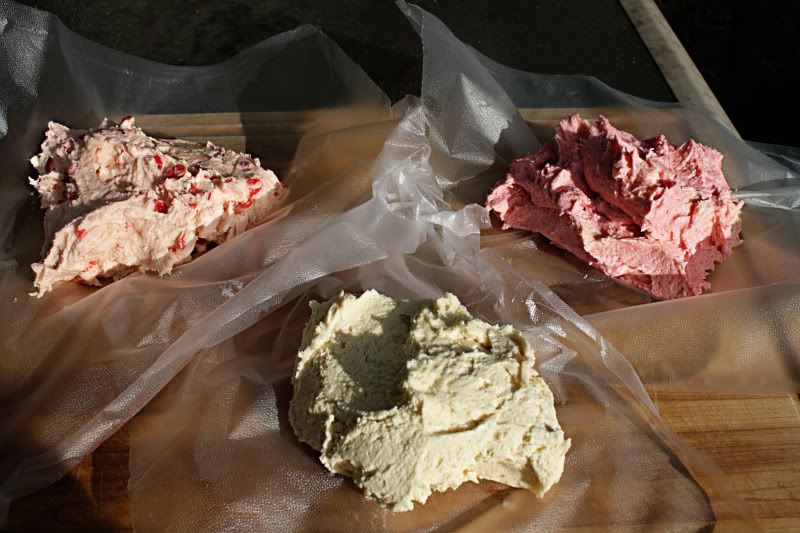
~ Divide dough into three portions. Leave one plain, into another stir in 1 tsp reserved cherry juice, & into the last one stir in mixed cherries. Wrap each piece of dough in plastic wrap and chill for 2 hours.

Photobucket

~ When dough is chilled, light flour 3 pieces of parchment paper. Roll out each piece of dough into a 6 inch square and then cover with plastic wrap and freeze for 30 minutes.

~ When dough is firm- place plain square of dough on your work surface and brush top with a little bit of milk. Place pink square on top of white and brush with milk and then place on cherry square. Lightly press layers together and trim off any pieces of dough that aren't aligned. Cut dough stack into thirds and freeze each third for 20 minutes. You can also preheat your oven to 375 degrees at this time.

~ When the thirds of dough are firm remove from freezer and slice each bar of dough into 12 pieces. Place slices on prepared cookie sheet. If any layers are starting to separate lightly press them together.

~ Bake about 10 minutes or until edges begin to brown. Transfer to a wire rack to cool.

~ Enjoy!

Photobucket


I am thinking about doing a series on Christmas cookies/holiday baking. If you are interested in guest posting one of your recipes please e-mail me at mrubino828@yahoo.com


Also if you haven't entered Giveaway- there is only one day left!


Visit Top Mommy Blogs To Vote For Me!


Thursday, October 27, 2011

Santa Rosa Steak


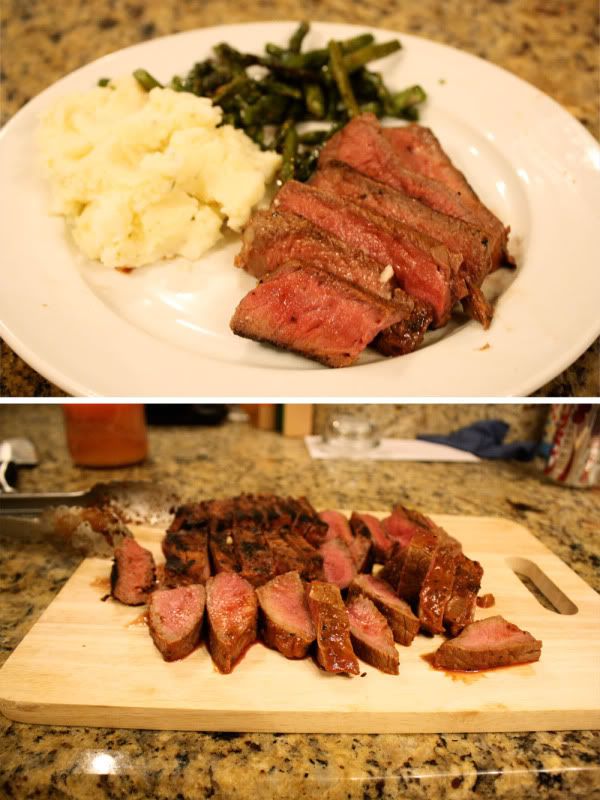
This is my Nana's recipe and I absolutely love it
She has been making it for as long as I can remember
It was a staple during summer bbqs at her house
The marinade is super easy to make and tastes amazing


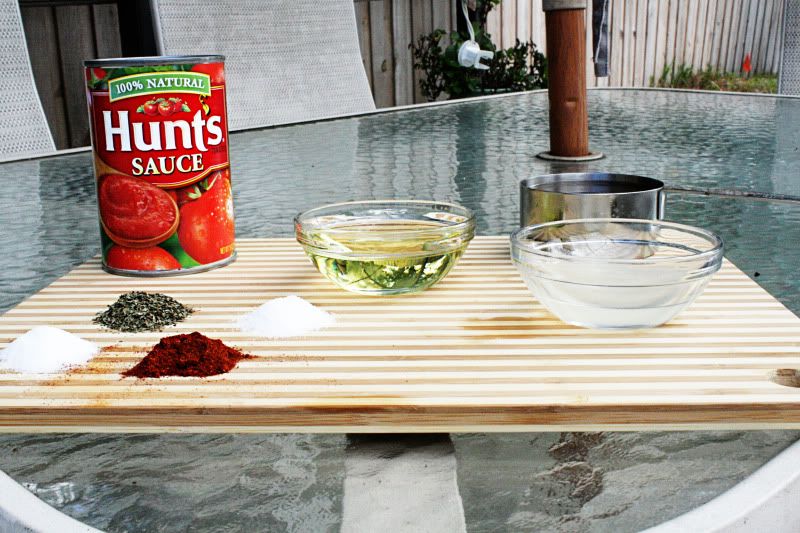
Photobucket

Ingredients

1 can tomato sauce
1 cup beef stock
1/4 cup oil
2 tbsp lemon juice
1 tbsp minced dried onion
1 tsp each- salt, sugar, basil & paprika
Steak of your choice
{My Nana always used london broil but I used sirloin}

Combine all ingredients until well blended. Put steak in a gallon ziploc bag or a baking dish and cover with marinade.
Refrigerate overnight and grill.
See I told you it was easy.

Photobucket


I'm linking up with Mallorie today because her name is awesome


Monday, October 10, 2011

Lazy Weekend


We had a pretty dull weekend
We were suppose to go boating
but a tropical depression brought
wind on Saturday and rain on Sunday

Saturday morning Joe took the baby to his parents
and I was left alone to take a long shower, browse though thrift shops, Old Navy & Home Goods

Later that afternoon we went up to my parent's house
We took a walk to an amazing park that they have right down the street
Last time we went Aubs couldn't walk yet
It was fun to watch her explore the park in a new way

Photobucket

Photobucket

Photobucket

Photobucket

Photobucket

Playing with Granddad
Photobucket

Photobucket

Photobucket

Photobucket

Photobucket


On Sunday we laid low
We went out for breakfast and headed back home for some football
The hubs isn't very happy with his team this year
What's up Eagles?

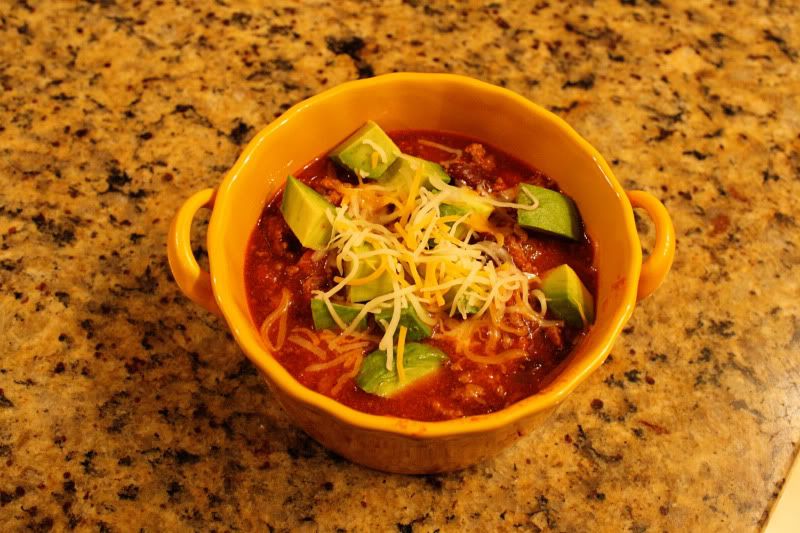
I did make chili though
and it was good
Aubs thought so too

I used Martha's recipe
I can never just leave recipes how they are so with this one I
omitted cinnamon and of the can of kidney beans
and added green pepper, a can of black beans and 1 tsp cumin

Photobucket

Photobucket


The next couple of weekends should be more exiting
We have friends coming from out of town both weekends
and lots of fall activities

I hope everyone else had a great weekend
Lazy or not


Thursday, October 6, 2011

Buffalo Chicken Dip


You've probably seen or had this recently because
Buffalo Chicken Dip is the new Artichoke Spinach Dip
It's freakin' amazing
and
Totally bad for you
Everything in moderation, right?

Here's my version:

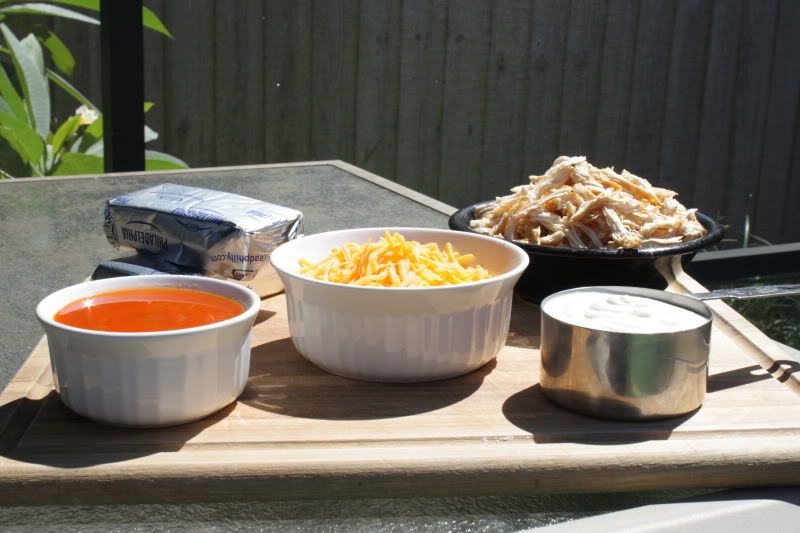
Photobucket

Ingredients:
Two 8oz blocks of cream cheese- softened
1 cup ranch dressing
1 cup buffalo sauce (I use Franks)
2 cups shredded cooked chicken
1 1/2 cups shredded cheddar plus 1/2 cup more for top

Preheat oven to 350 degrees

I use my standmixer for this one because I use my stand mixer for everything but you could also use a handheld or if you're a really good stirrer you can mix it by hand. First you are going to blend one block of softened cream cheese with the ranch dressing. Then add the buffalo sauce and the second block of cream cheese. I do it separately because the cream cheese has less of a chance of clumping when you do it this way. After those ingrediants are well blended you can slowly stir in your chicken. (I cook mine in a skillet and then shred with a fork) Once the chicken is in you can add your cheese.

Pour mixture into an oven safe casserole dish or cake pan. Top mixture with 1/2 cup of shredded cheddar. Place in oven and bake for 30 minutes.

Serve dip hot with tortilla chips and celery sticks.

Photobucket

*Note* The first time I made this I forgot to defrost chicken so I used canned chicken because a lot of the recipes out there tell you to. I hated it this way, I thought it gave it a weird metallic taste. If your short on time I recommend buying a rotisserie chicken and shredding it instead. Also a lot of recipes also add blue cheese. I would love to try this but I've got a bunch of picky eaters on my hands. I think it would be really good crumbled on top instead of the cheddar.


Around My Family Table

Thursday, September 15, 2011

When Life Gives you Brown Bananas


Make Banana Bread
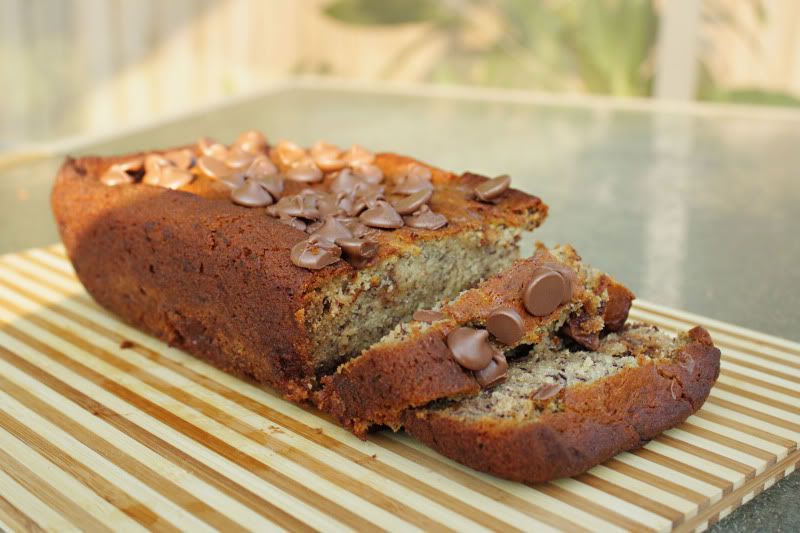
Chocolate chip banana bread to be exact. I usually don't add chocolate but I had some left over from when I made a
peanut butter "cheese ball" so I figured, what the heck.

Photobucket

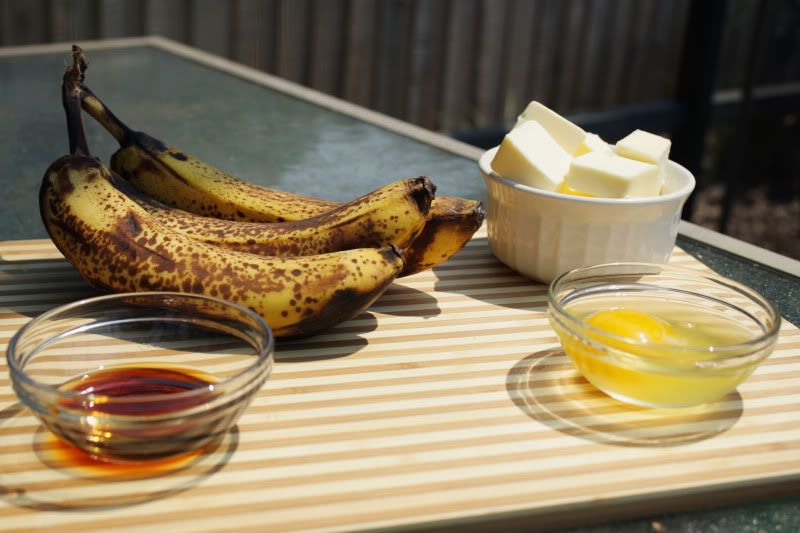
*Wet Ingredients*

3 Super Ripe Bananas
3/4 Cup Unsalted Butter
1 Egg
1 Tsp Vanilla


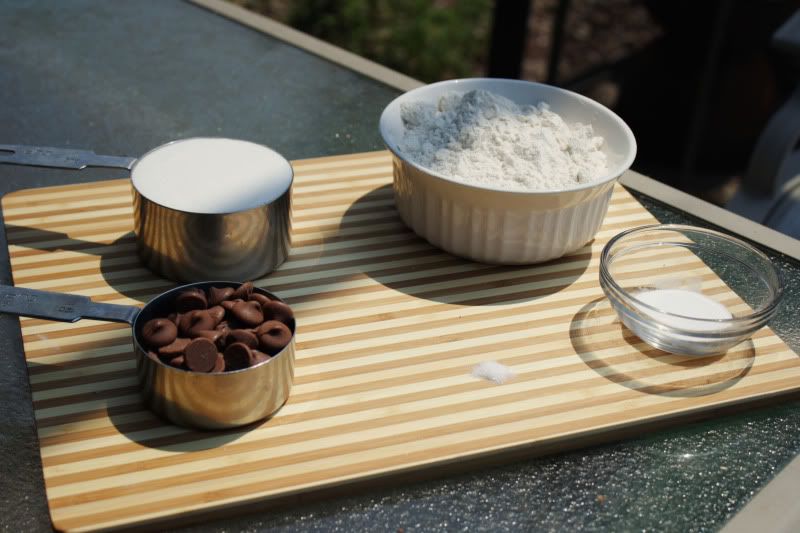
Photobucket

*Dry Ingredients*

1 Cup Sugar
1 Tsp Baking Powder
Pinch of Salt
1 1/2 Cup All Purpose Flour
1/2 Cup Milk Chocolate Chips + about 1/4 cup to put on top after baking.


Preheat your oven to 350 degrees.
Melt your butter and blend it with your bananas. I have a stand mixer but you could also use a handheld. Then mix in the egg, vanilla and sugar. Once that is mixed well add in you baking soda, salt and flour. Add the flour slowly so it doesn't cloud. Lastly throw your chocolate chips in. Pour batter into a well greased loaf pan and bake for 50- 55 minutes. As soon as you remove your bread from the oven, lightly press a few more chocolate chips on top. Allow the bread to cool completely, flip out of pan and enjoy!


Photobucket


Around My Family Table


Related Posts Plugin for WordPress, Blogger...