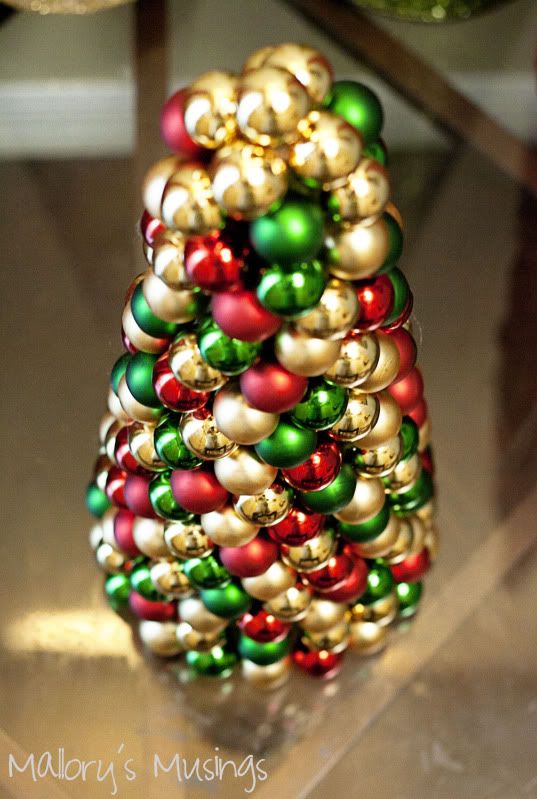
In our house we have two big closets in our foyer that are not only great for storage but they have ledges on top that are great for putting holiday decorations on. For Christmas we usually put a bunch of poinsettias up there but this year we are changing it up.
When I was at Home Goods a few weeks ago I found some good deals on cone style Christmas trees. I snagged about 8 of them but my price tag was getting a little high so I stopped there. When I got home I had the genius idea that I could make a few of my own using foam cones from the craft store.
For the first one I decided to attempt an ornament tree. These types of trees can be pretty pricey when they are bought already made. They can actually be pretty pricey to make too if you don't hit good sales or use old ornaments that you already have in the house. I fortunately hit up Joann's when they were having a 60% off sale so I was able to get boxes of 27 ornaments for a little under $2.50.
Alright~ enough back story. Here is what you will need:
Lots of small glass ball ornaments. I used 3 boxes of red, 3 boxes of green and 3 1/2 boxes of gold. I used roughly around 250 ornaments. You may need more or less depending on how large your cone is.

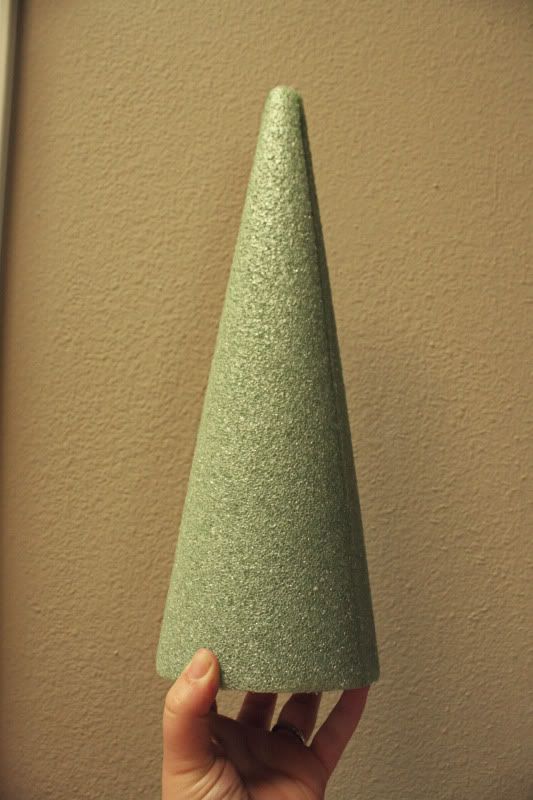
A foam cone from a craft store such as Joann Fabrics, Michael's or A.C. Moore.
Mine was 15" x 4"
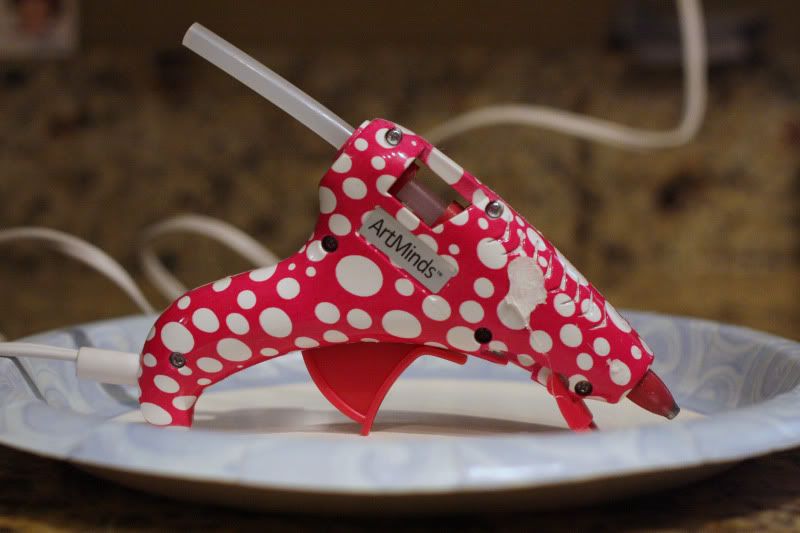
A glue gun
This is what you are going to do to create that fabulous tree!
First remove the top piece that holds the hanging hooks from your ornaments.
If you remove all of them before hand the process of covering the cone will go a lot smoother.
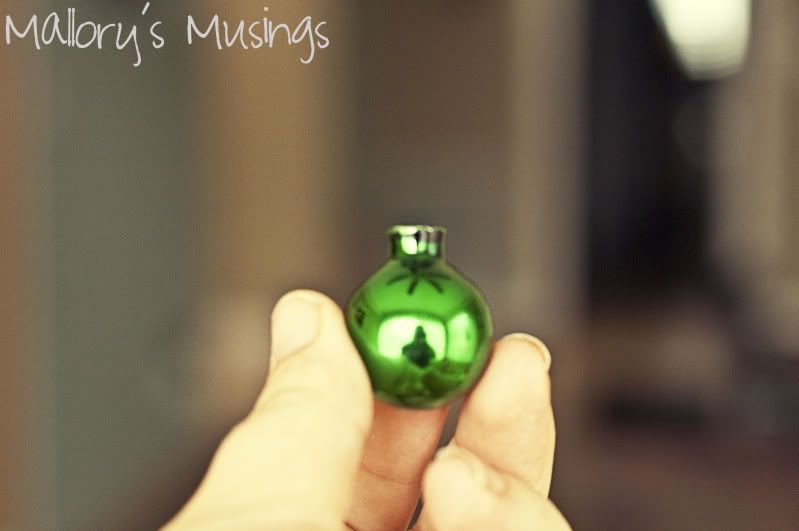
Now comes the fun part. Starting from the the base of the cone you are going to push the lip of the ornament into the foam. If the ornament feels firmly planted in the foam then there is no need to hot glue it. If it feels a little loose or if you'd just like the reassurance you can remove the ornament from the foam, add a bit of hot glue and put back into the same stop you had it in before. I up ended hot glueing my whole first row because it was the part that I held onto the most and some of the ornements became loose after so much handling.
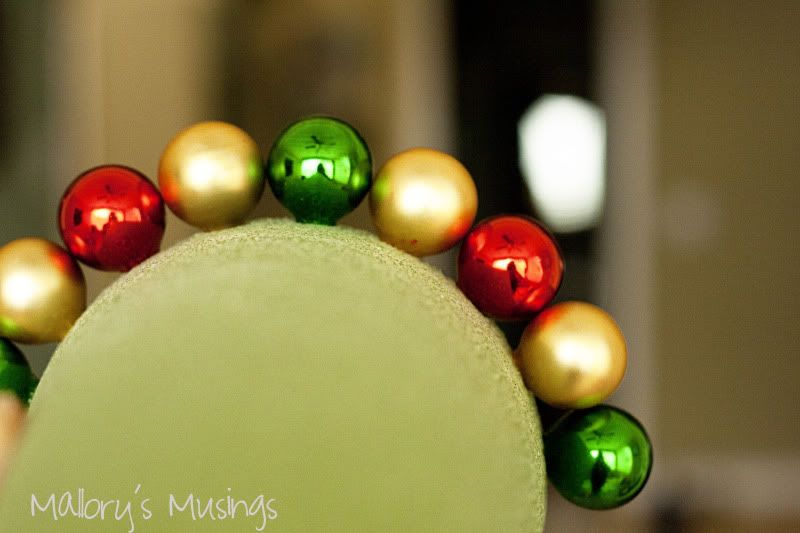
Continue doing this row by row. There are going to be small gaps here and there but once it is completely covered they will be unnoticeable. This is pretty much all you do. It is a little tedious but as it gets smaller towards the top the process speeds up.
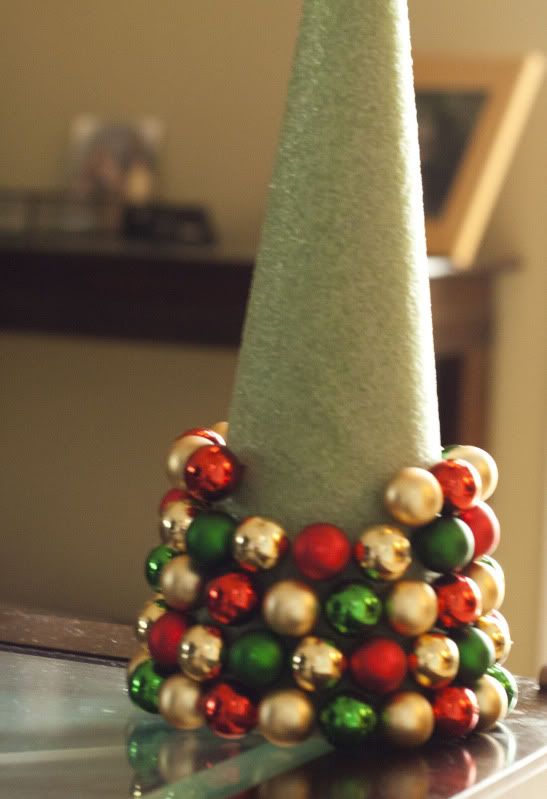
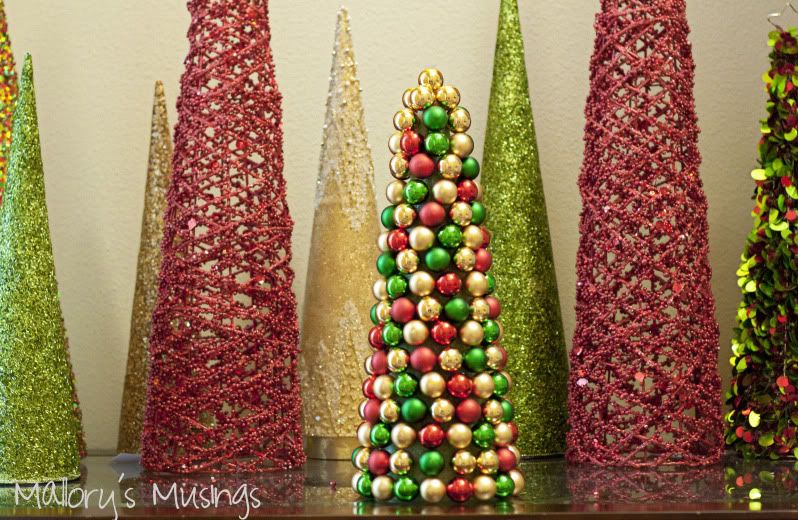
One you have the cone completely covered check to see if there are any loose ornaments. You can to this by light feeling around with the palm of your hand to see if any of them move. Glue any ornaments that feel wobbly. After you glue your last few in place, wait a few minutes and then remove any hot glue strings that may have formed.
That's it- simple and beautiful!
Pin It
I have three other cones that I am in the process of decorating also.
If they all turn out as good as this one I will definitely be sharing.


oh my goodness, i love that first photo!!!
ReplyDeletexoxo,
megs [at] Shine On
These are gorgeous! I really want to try this!
ReplyDeleteyay these are awesome! can't wait to try it out!
ReplyDeletenot only is the craft fabulous but the photos of the craft project is beautiful! Can't wait to go get supplies tomorrow, and try this one out!
ReplyDeleteOK, this one is cool too!! I have got to try these! And, I have the same hot glue gun.....I love the polka dots ;)
ReplyDelete